Add a Table of Contents to Page Content
Give long Notion pages a desktop table of contents so users can jump between headings without scrolling blindly.
This guide walks through enabling TOC preferences on a Page Content component, then checking desktop preview and the published app.
What you get
Section titled “What you get”After you enable the TOC and publish:
- Desktop users see a headings list beside (or pinned with) the Page Content block
- Clicking a heading scrolls to that section
- Mobile users keep the existing compact Contents experience
You control:
- Whether the TOC is shown
- Whether headings stay pinned open
- Left vs right position
- How many headings are required before the TOC appears
Before you start
Section titled “Before you start”You need:
- A screen that shows Notion page content (typically a Details / View One Item screen)
- A Page Content component on that screen
- Notion page content that includes headings (for example
#,##,###blocks) - Permission to Publish so end users see the change
Step 1 — Open the Details screen
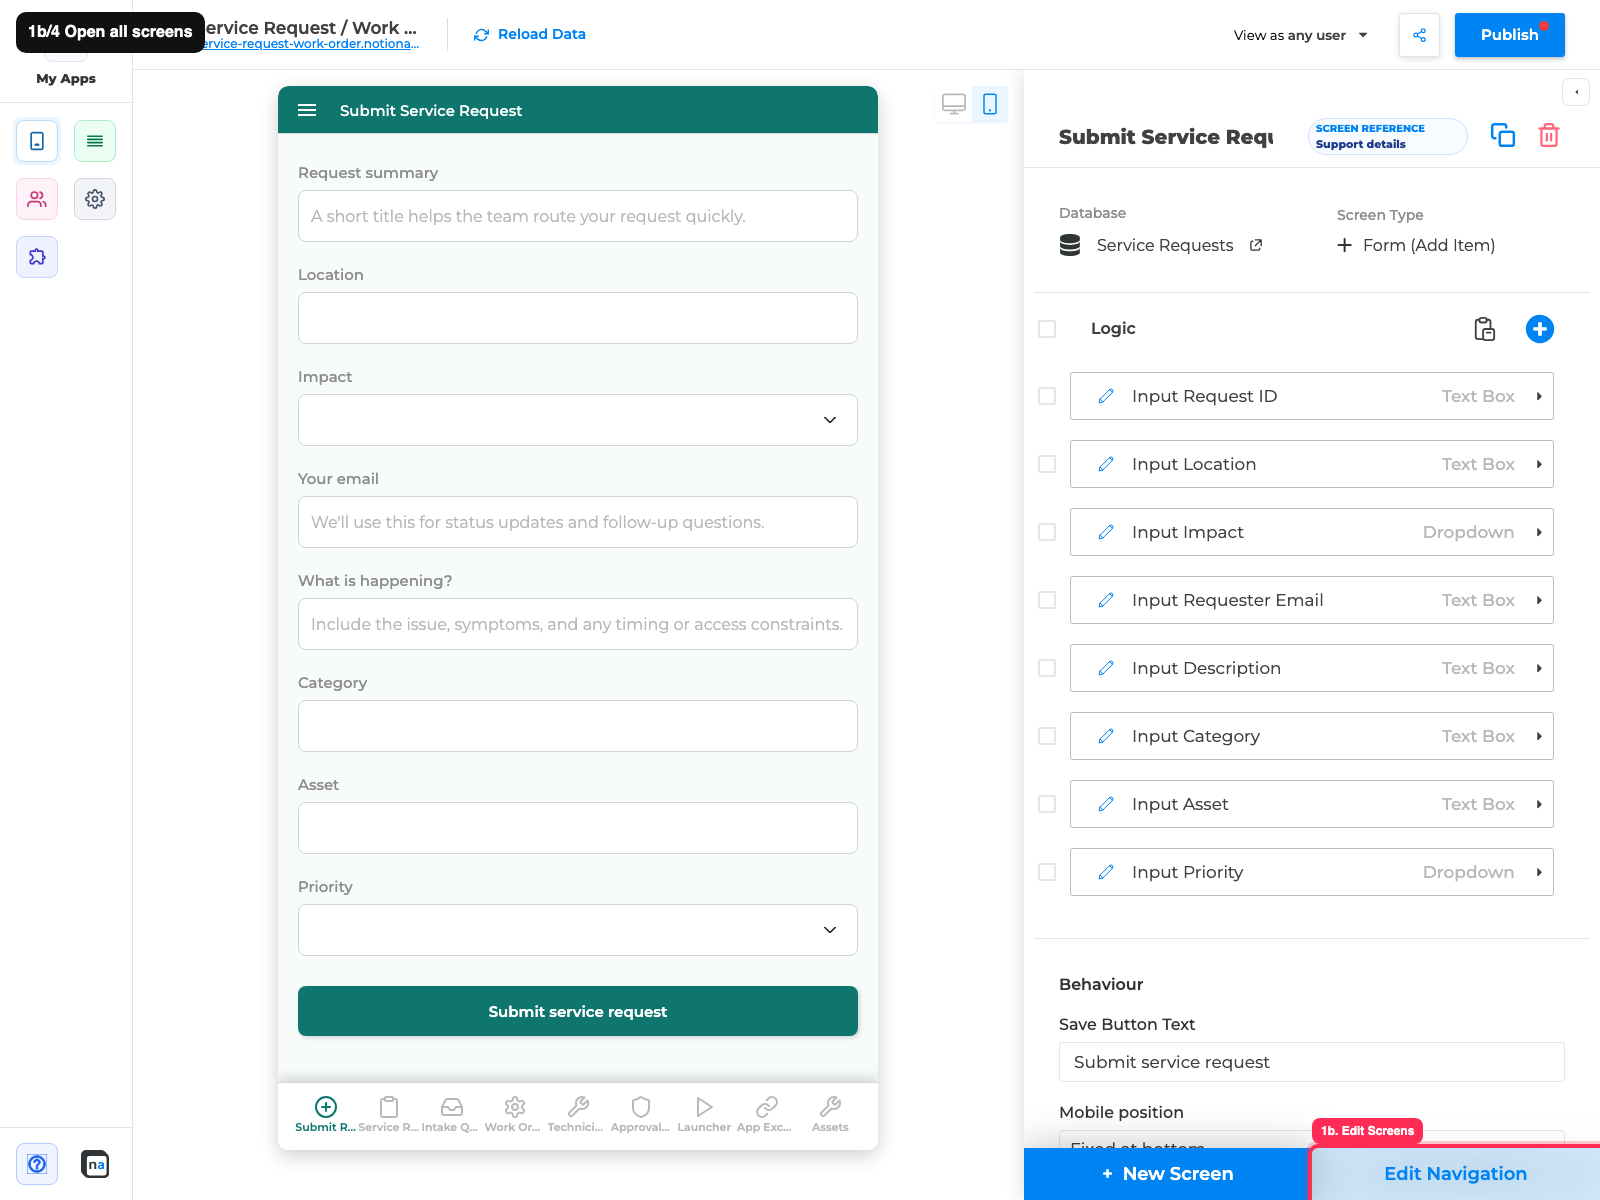
Section titled “Step 1 — Open the Details screen”- Open your application in the NotionApps builder.
- Go to Screens (left rail).
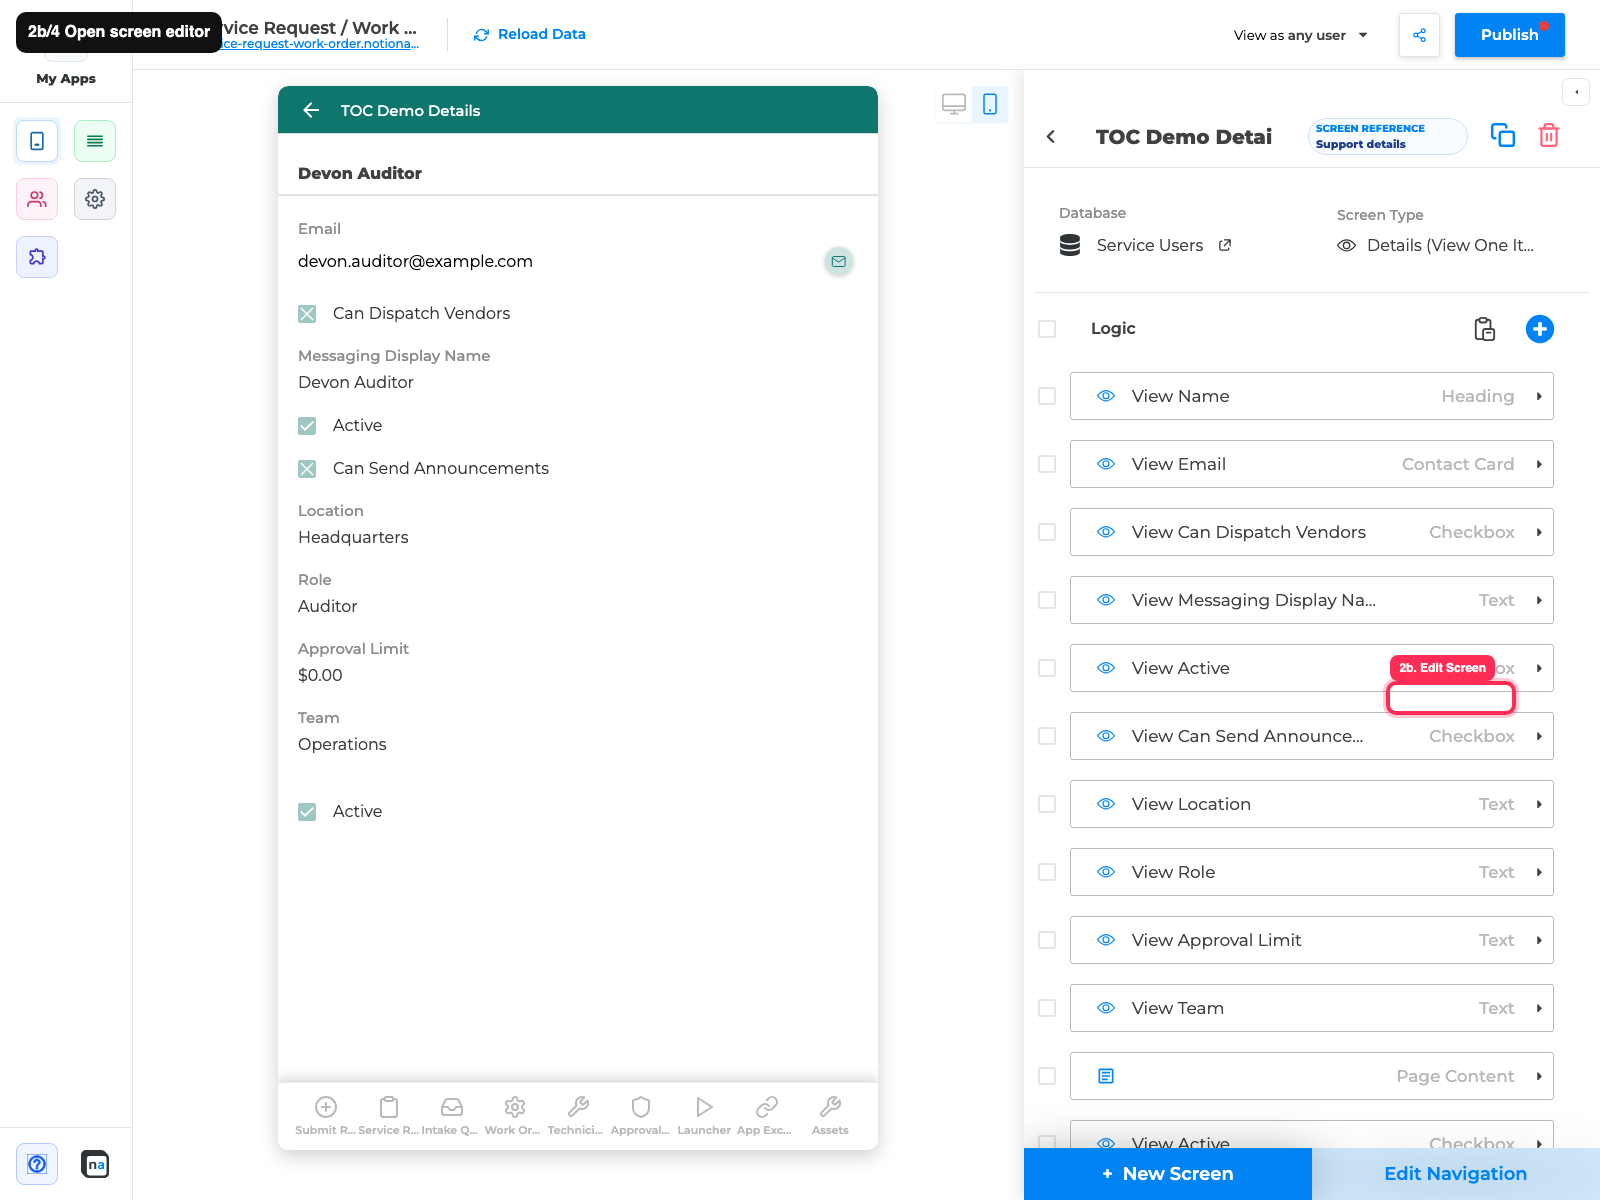
- Open the Details screen that shows the long page (or create a Details / View One Item screen and add Page Content).
Step 2 — Select the Page Content component
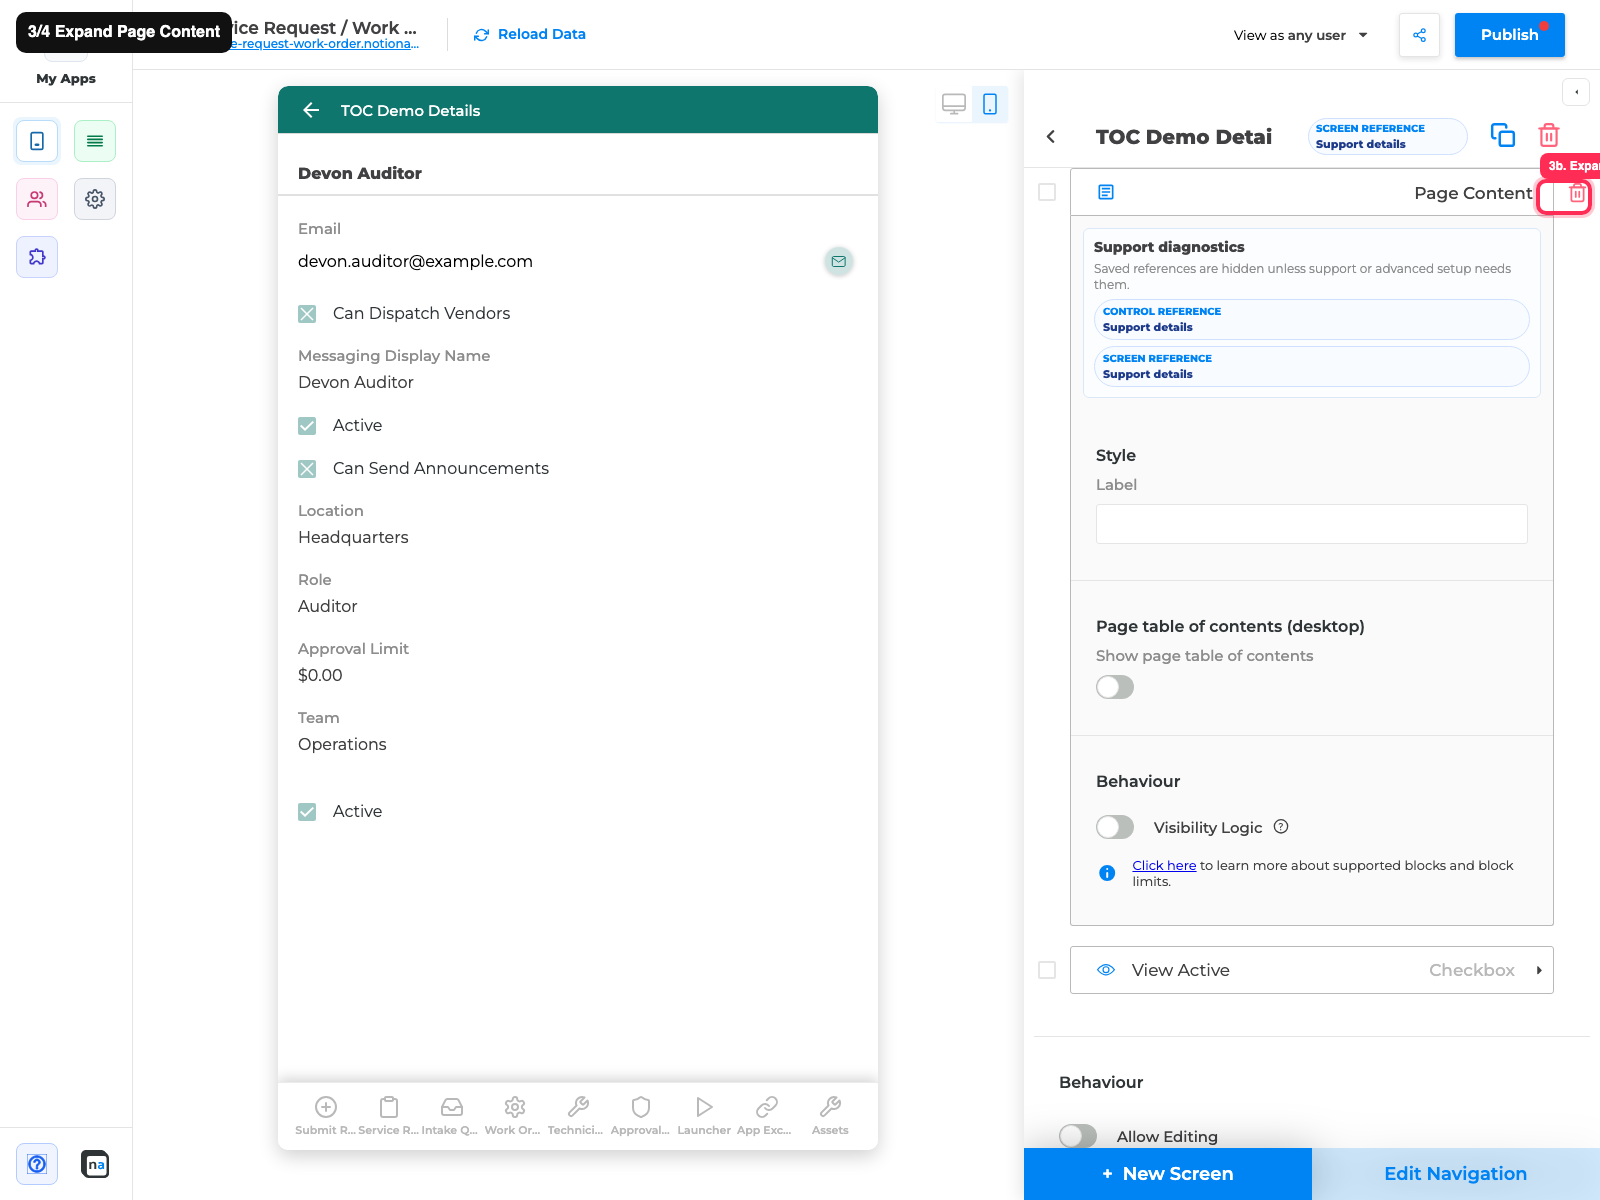
Section titled “Step 2 — Select the Page Content component”- In the preview, click the Page Content block
or - In the right Logic list, expand/select Page Content.
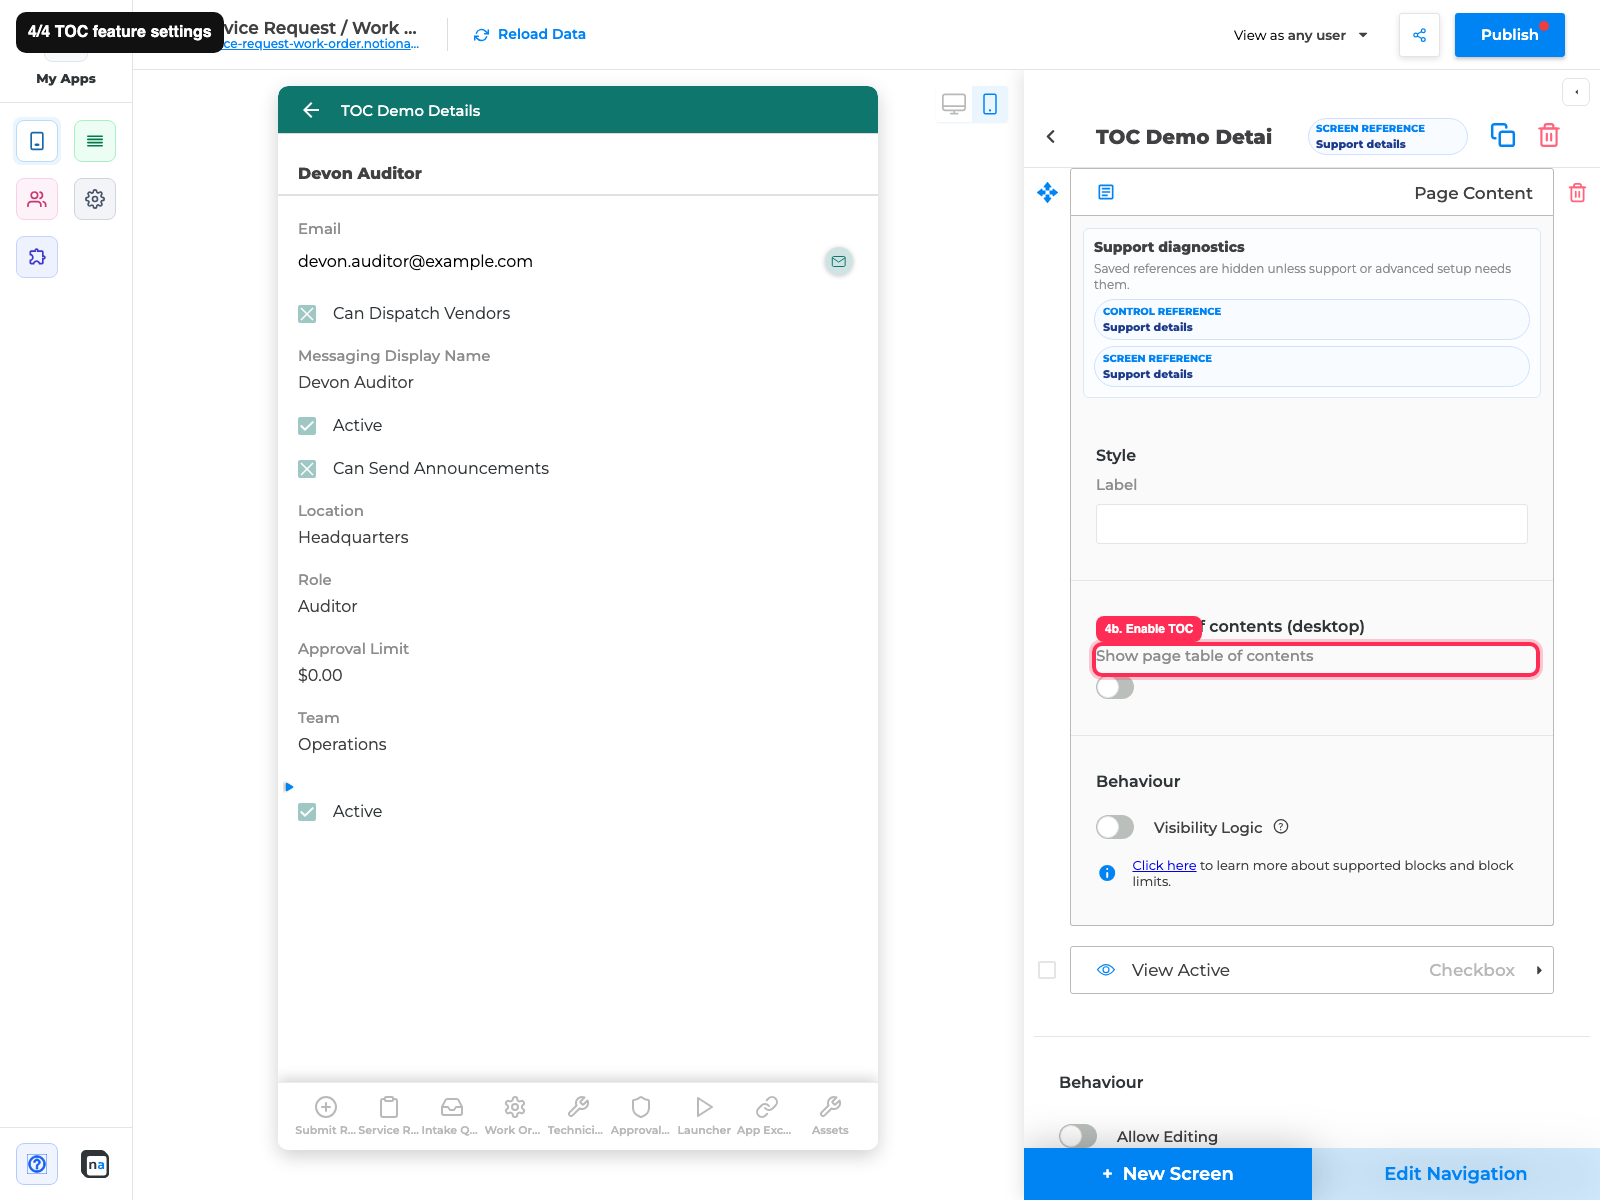
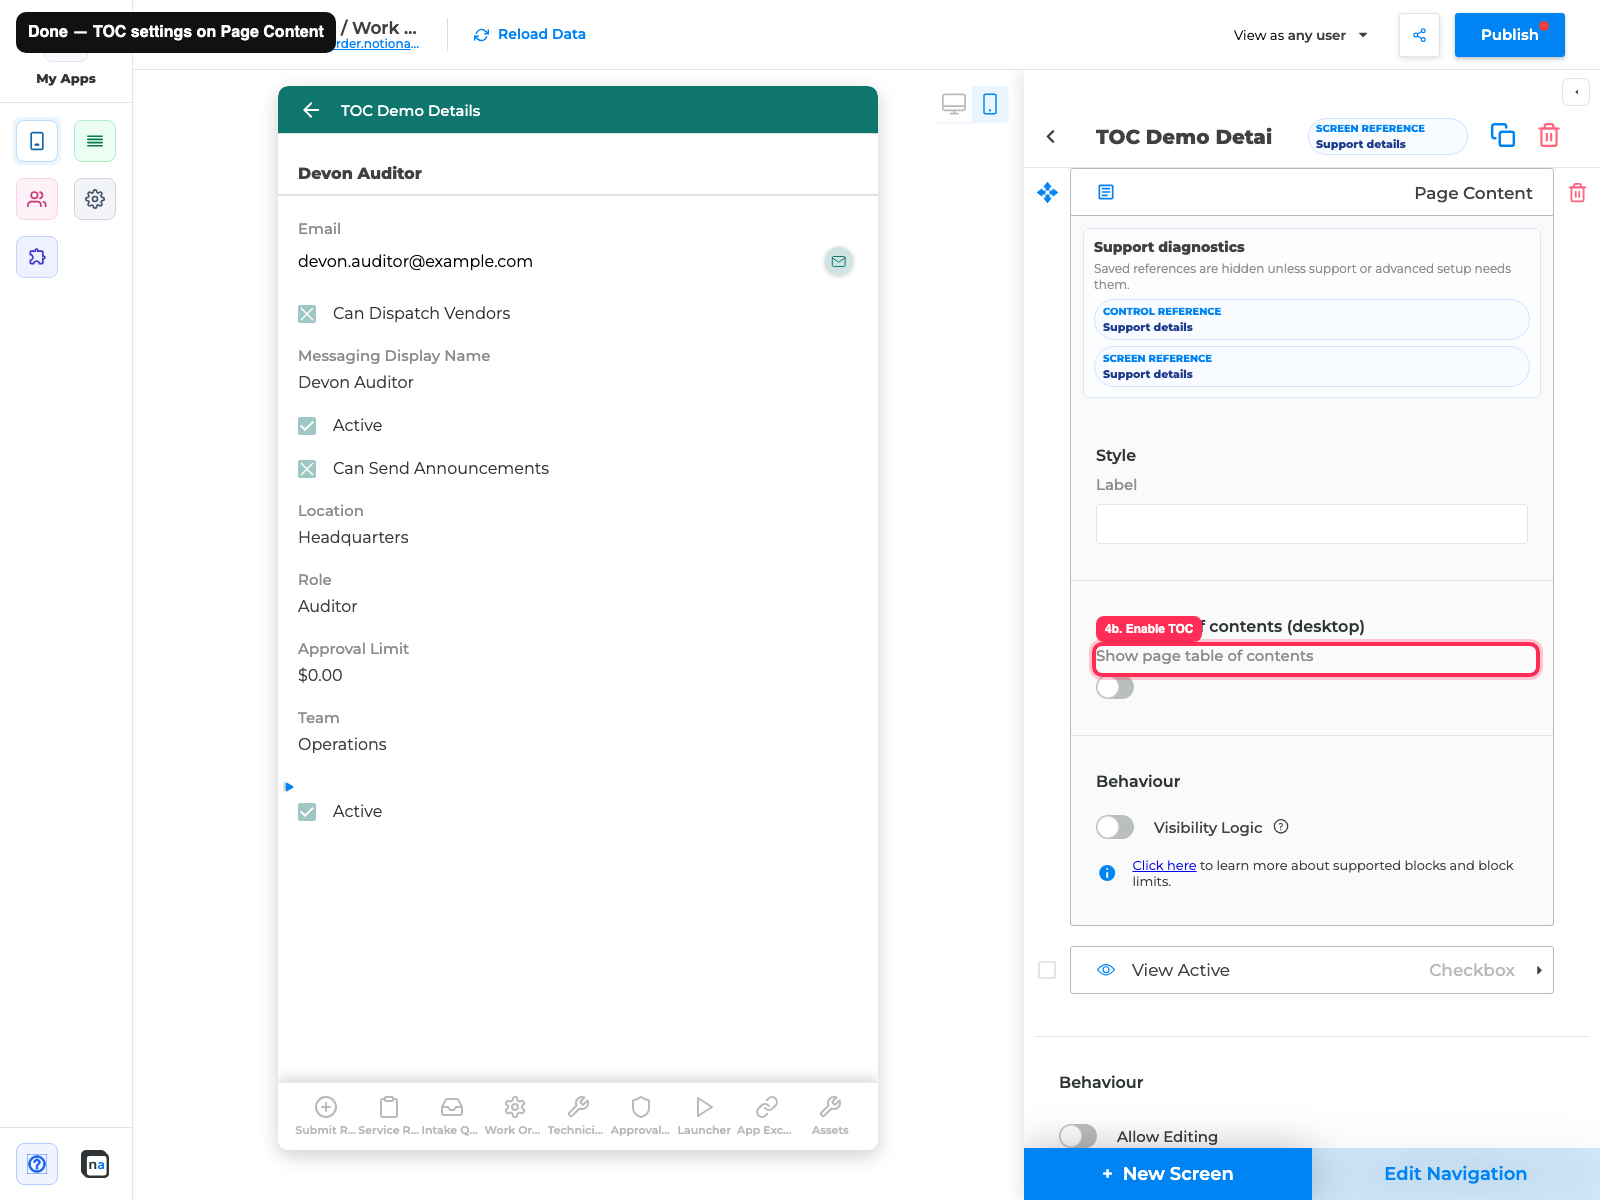
The right panel should show Page Content settings, including Page table of contents (desktop).
Step 3 — Enable the desktop table of contents
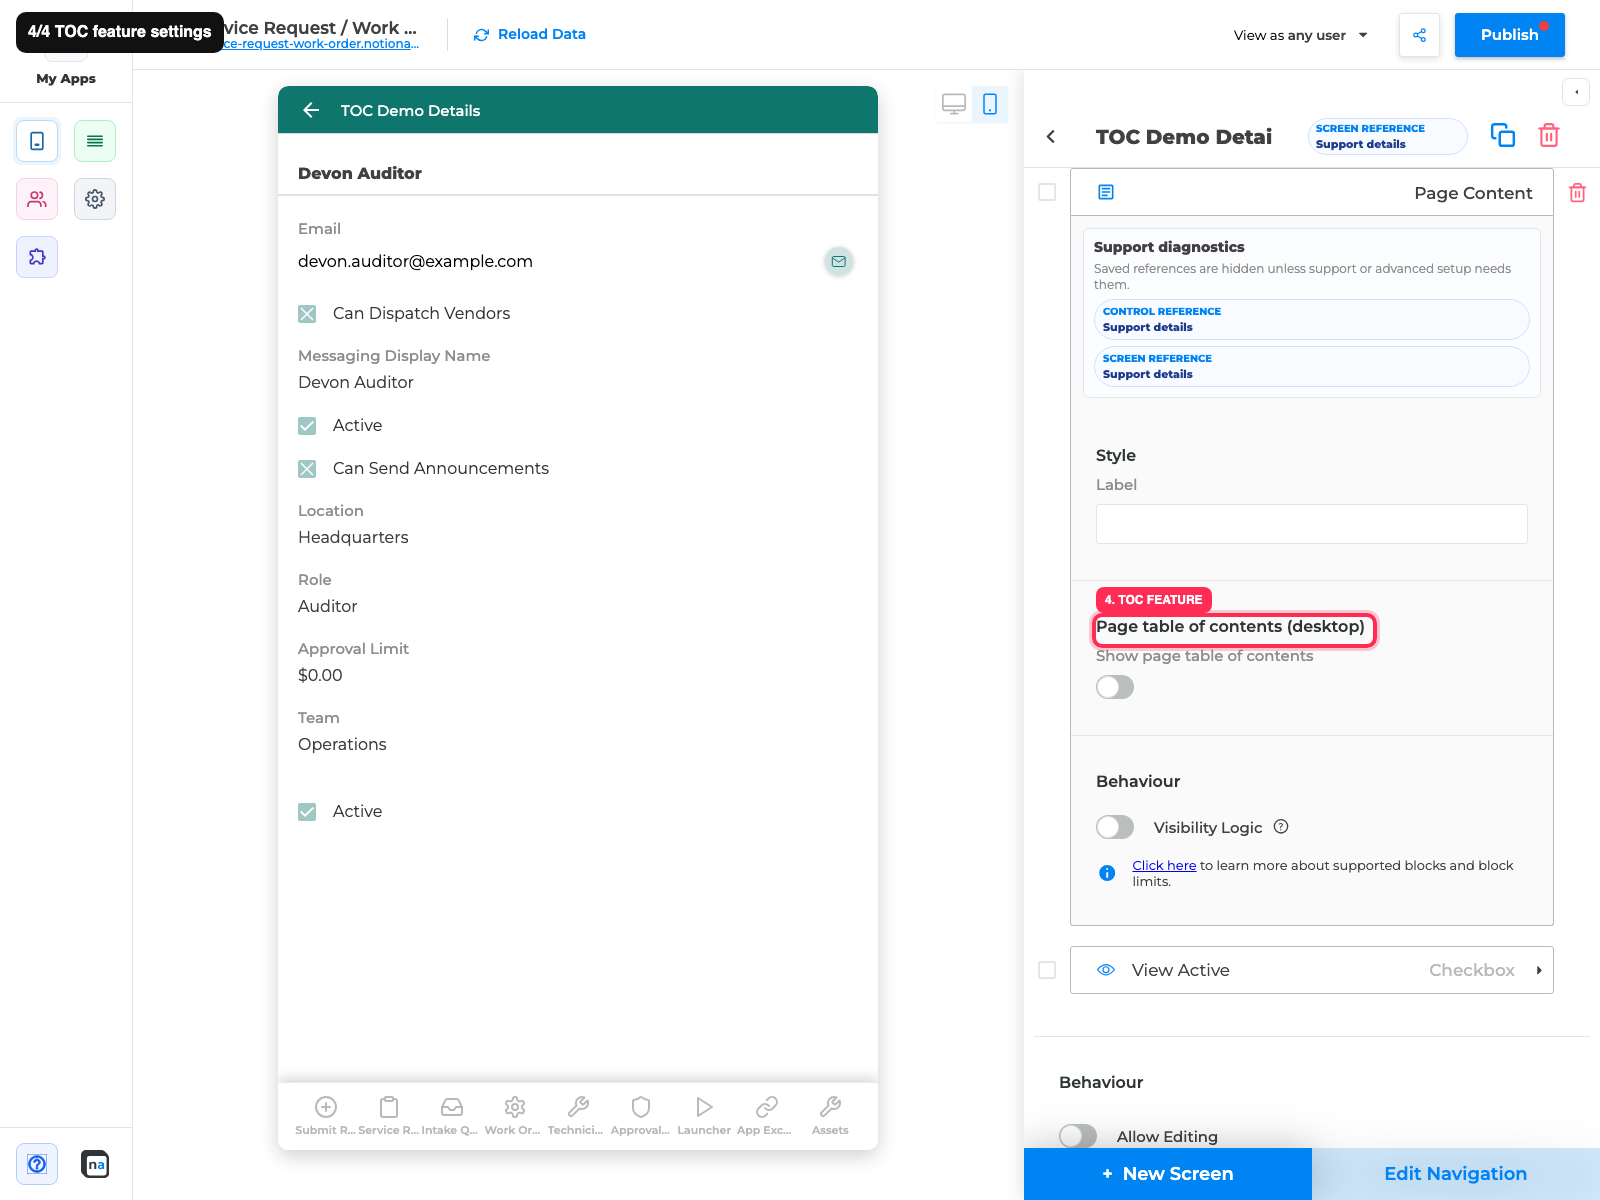
Section titled “Step 3 — Enable the desktop table of contents”In Page table of contents (desktop):
- Turn Show page table of contents On.
- Optionally turn Pin open (always show headings) On if you want headings always expanded (not collapsed behind a control).
- Set Position to Left or Right.
- Set Minimum headings (for example
2or3).
Step 4 — Preview on desktop width
Section titled “Step 4 — Preview on desktop width”- Switch the builder preview to Desktop (not phone).
- Confirm the preview is wide enough for the desktop TOC layout.
- Check that:
- Headings appear in the TOC
- Clicking a heading scrolls the page content
- Pin / position match your settings
Step 5 — Publish and verify live
Section titled “Step 5 — Publish and verify live”- Click Publish in the builder top bar.
- Open the published app on a desktop browser.
- Navigate to the screen with Page Content.
- Confirm the TOC matches builder desktop preview.
Settings reference
Section titled “Settings reference”| Setting | What it does | Typical choice |
|---|---|---|
| Show page table of contents | Master on/off for desktop TOC | On for long docs |
| Pin open | Keep headings list always visible | On for help/docs pages |
| Position | TOC on the left or right of content | Right |
| Minimum headings | Hide TOC until the page has at least N headings | 2 or 3 |
End-to-end example (makers)
Section titled “End-to-end example (makers)”Goal: A knowledge-base Details screen with a long Notion article should show a jump list of sections on desktop.
- Open the Details screen that uses Page Content for the article.
- Select Page Content.
- Enable Show page table of contents.
- Enable Pin open, set Position to Right, Minimum headings to
2. - Preview on desktop, click a few headings.
- Publish and spot-check the live app on desktop and phone.
Checklist
Section titled “Checklist”- Page Content component selected (not a different block)
- Show page table of contents is On
- Pin / position / minimum headings set intentionally
- Desktop preview shows the TOC
- Phone preview still uses compact Contents
- App is Published
- Live desktop browser matches preview
Troubleshooting
Section titled “Troubleshooting”| Symptom | Likely cause | What to do |
|---|---|---|
| TOC never appears | Fewer headings than minimum, or feature Off | Lower Minimum headings; confirm toggle On |
| TOC only in builder, not live | App not published | Publish again |
| TOC missing on phone | Expected | Mobile uses compact Contents |
| TOC cramped / missing in preview | Preview too narrow | Widen desktop preview |
| Headings list empty | Notion page has no heading blocks | Add headings in Notion, then reload data |
Related notes for makers
Section titled “Related notes for makers”- TOC preferences are stored on the Page Content component — each Page Content block can differ.
- Reloading Notion data may change heading titles if the page was edited.
- Visibility logic on Page Content still applies; a hidden Page Content block also hides its TOC.
Builder options at a glance
Section titled “Builder options at a glance”This guide teaches a focused maker workflow. For the full screen option inventory (What it does / How to use / Why) and annotated builder screenshots, use the matching Types of Screens guide:
- Data screens: List (View Items), Details, Form (Add Item), Form (Update One Item), List (Update Items), Content
- Everyday chrome / Queue & activity: see the Types of Screens index
- Automation native screens: Native Automation Screens
Recommended defaults
Section titled “Recommended defaults”- Change one option family at a time, then publish and test on phone and desktop.
- Prefer screen-level settings in Content / Behaviour / Appearance before custom CSS/JS.
- Keep public access and navigation visibility intentional on every screen you link from this guide.