Build a Mixed Public–Private Portal
Use one NotionApps app and one share link for guests and signed-in users. Guests see Welcome and intake. Clients and staff see private lists, queues, and decisions after OTP login.
What you will build
Section titled “What you will build”- A public Welcome Content Page (HTML/CSS landing).
- A public Start Intake / Submit Create Form.
- Private signed-in screens (My … lists, Work Queue, Decision, Messages).
- Separate guest vs signed-in navigation so staff chrome never appears to guests.
Prerequisites
Section titled “Prerequisites”- Private app with OTP users database.
- Automation entitlements if you add Work Queue / Decision.
- Optional: Content Page Screens.
1. Create the Welcome Content Page
Section titled “1. Create the Welcome Content Page”- Add a Content screen.
- Turn Public access On.
- Set Show in navigation for guests as needed (many makers leave Welcome in the guest menu).
- Turn Show in navigation when signed in Off so Welcome does not clutter the private portal.
- Paste branded HTML/CSS. Link CTAs to your intake form screen (in-app links stay inside the shell).
2. Create the public intake form
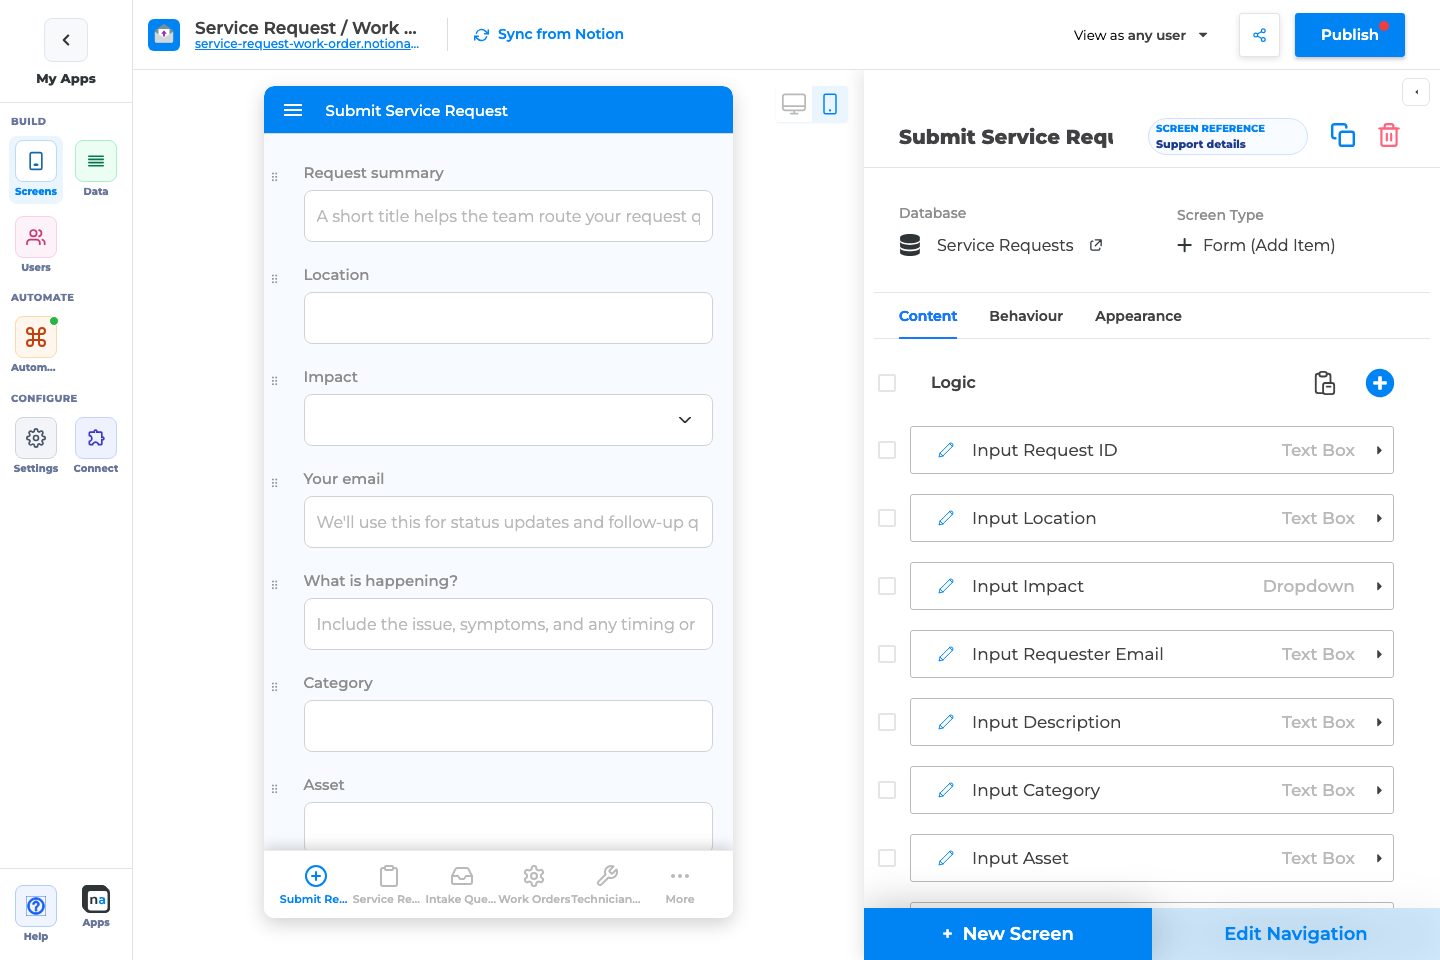
Section titled “2. Create the public intake form”- Add a Form (Add Item) on your requests / leads / intake sheet.
- Turn Public access On.
- Prefer link-only for guests if you do not want the form in the hamburger — share
?form=or a Welcome CTA instead. - Hide staff-only fields (Status, Owner, internal notes) from the public form.
3. Keep the rest private
Section titled “3. Keep the rest private”Leave Work Queue, Decision, My … lists, Messages, and admin screens with Public access Off. Use Screen Visibility / roles so clients, partners, and staff each see the right chrome.
4. Publish and test both audiences
Section titled “4. Publish and test both audiences”- Publish the app.
- Open the live URL in a private window → guest Welcome + intake only.
- Log in as a client persona → private portal, no guest-only clutter (unless you intentionally left Welcome visible when signed in).
- Log in as staff → queues and decisions.
- One share link is enough — do not clone the app per audience.
- Use Content Pages for marketing/consent; use Create Forms for data capture.
- After login, landing should prefer a chrome-visible private screen (My Onboarding, Home, or Work Queue).
- For review hubs after intake, continue with Client Review Hub in 15 Minutes.
Related
Section titled “Related”Annotated builder screenshots
Section titled “Annotated builder screenshots”
Complete Builder Options Reference
Section titled “Complete Builder Options Reference”Cross-links for the screens used in mixed portals:
Public access (Content page or Create Form)
Section titled “Public access (Content page or Create Form)”Public access
Section titled “Public access”What it does: Opens that screen to anyone with the app link while other screens stay private.
How to use it: Enable on Welcome Content + intake Create Form only.
Why / recommended default: Least privilege — only the screens guests need.
Show in navigation for guests
Section titled “Show in navigation for guests”What it does: Puts the public screen in guest menus.
How to use it: On for Welcome; usually off for the raw form if Welcome already links to it.
Why / recommended default: Keep guest nav to one or two entries.