Board List View
Board List View
Section titled “Board List View”Board List View
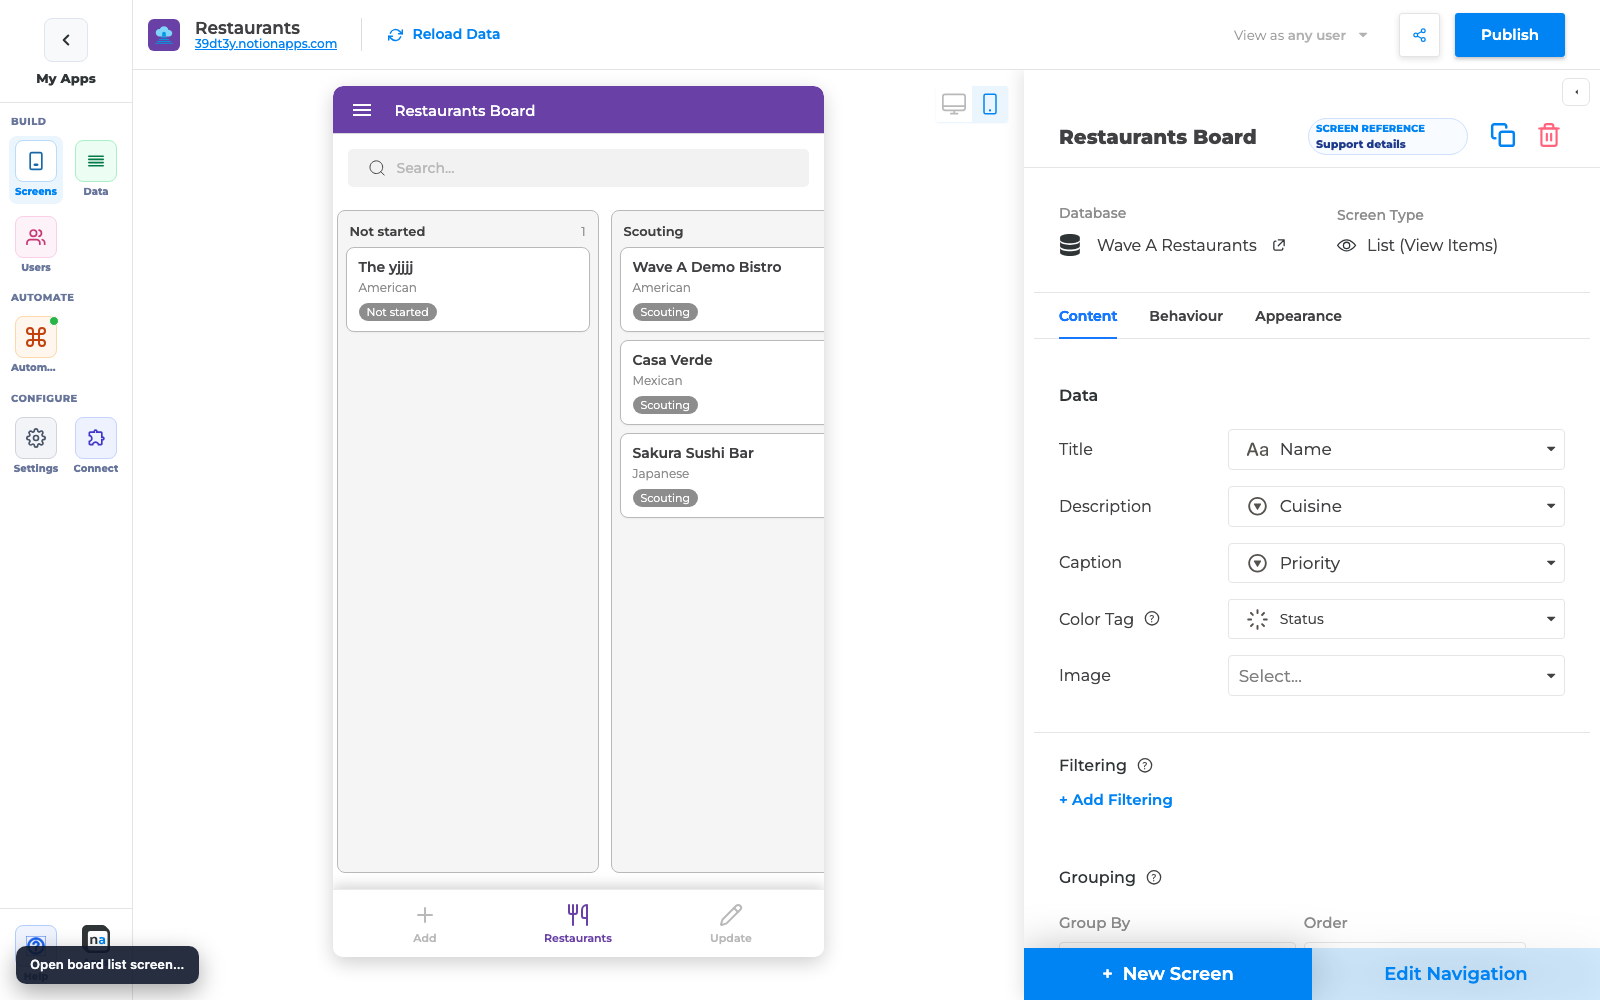
Section titled “Board List View”Turn a List screen into a Board (kanban) so records appear in columns by Status or Select — then drag cards between columns to update Notion.
What you get
Section titled “What you get”| Capability | What makers configure | What end users see |
|---|---|---|
| Board view | Appearance → View type → Board | Horizontal columns (one per option) |
| Grouping | Behaviour → Grouping on Status or Select | Column headers match Notion options |
| Drag and drop | Grouping field editable + multi-row update allowed | Drag a card to another column updates Notion |
| Open record | Unchanged on-click / Details link | Tap a card to open Details |
Before you start
Section titled “Before you start”You need:
- A List (View Items) screen
- A Notion Status or Select property to group by
- Reload Data so options and colors are current
- Permission to Publish
Step 1 — Switch the List to Board
Section titled “Step 1 — Switch the List to Board”- Open the List screen in the builder.
- Open Appearance (or the list view type control).
- Set View type to Board.
- Confirm the preview switches from a vertical list to columns.
Step 2 — Group by Status or Select
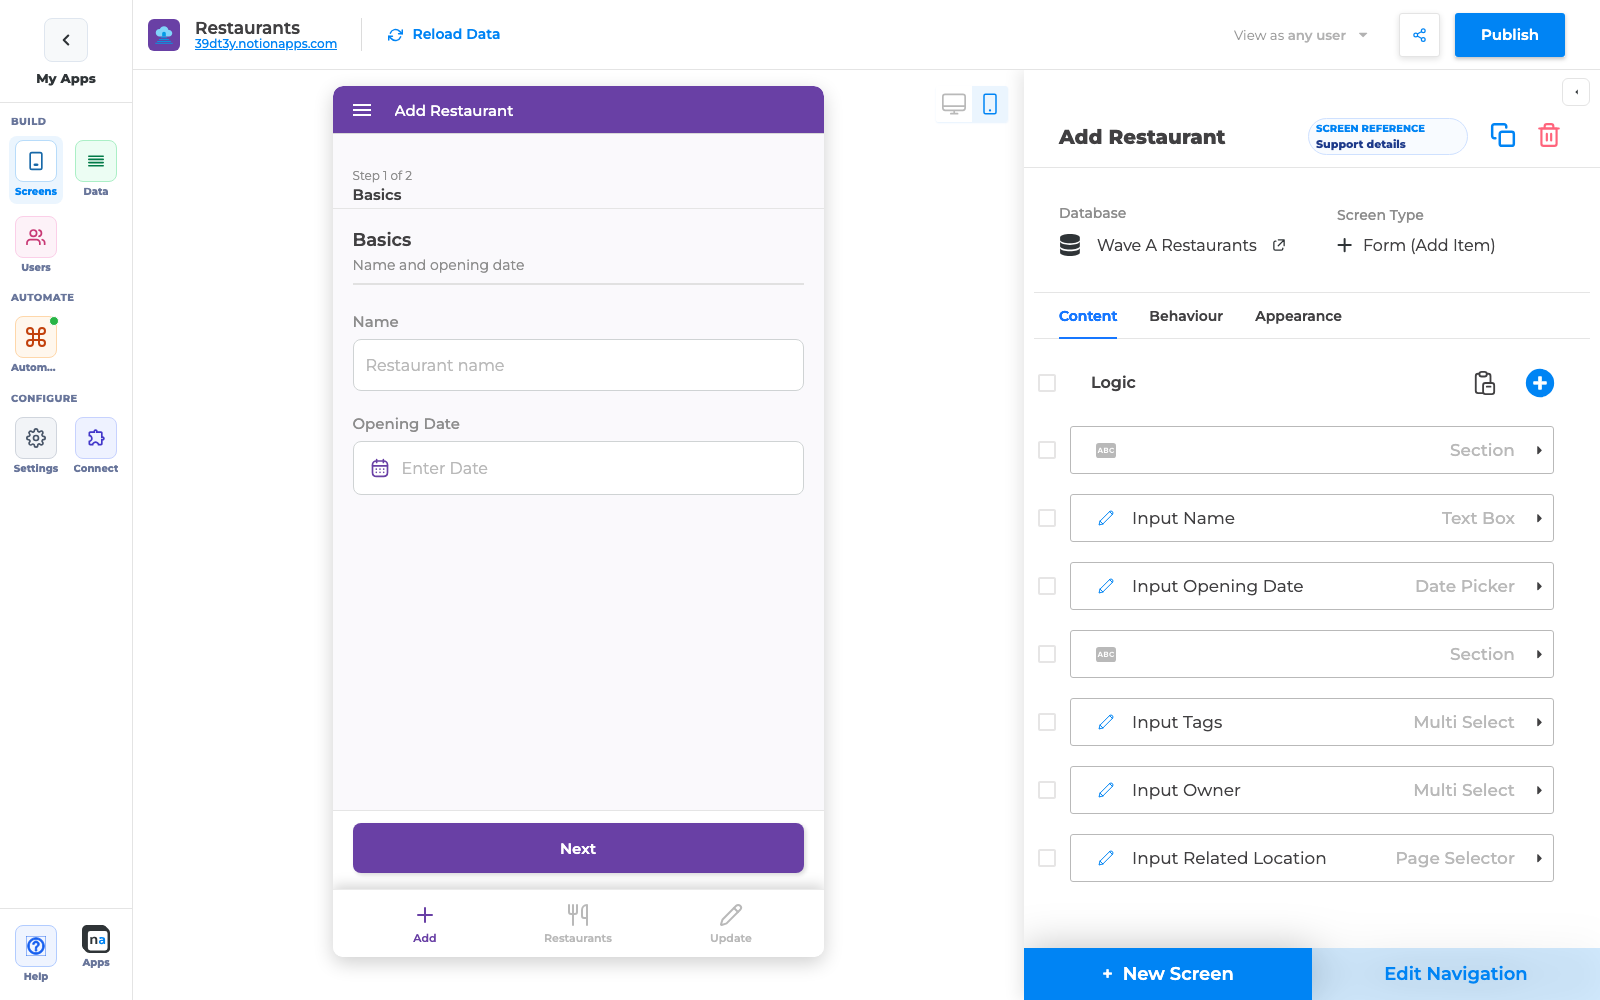
Section titled “Step 2 — Group by Status or Select”- Open Behaviour → Grouping.
- Enable grouping and choose the Status or Select field (for example, Status).
- Set sort order (ASC / DESC) for column order.
- In preview, confirm columns match your Notion options (for example Not started, Scouting, Open, Closed).
Step 3 — Enable drag-and-drop writes (optional but recommended)
Section titled “Step 3 — Enable drag-and-drop writes (optional but recommended)”Drag between columns updates the grouping field when:
- View type is Board
- Grouping field is Status or single Select
- Multi-row update is allowed on the List and includes an editable control for that field (or the field is otherwise writable for Board DnD)
Then:
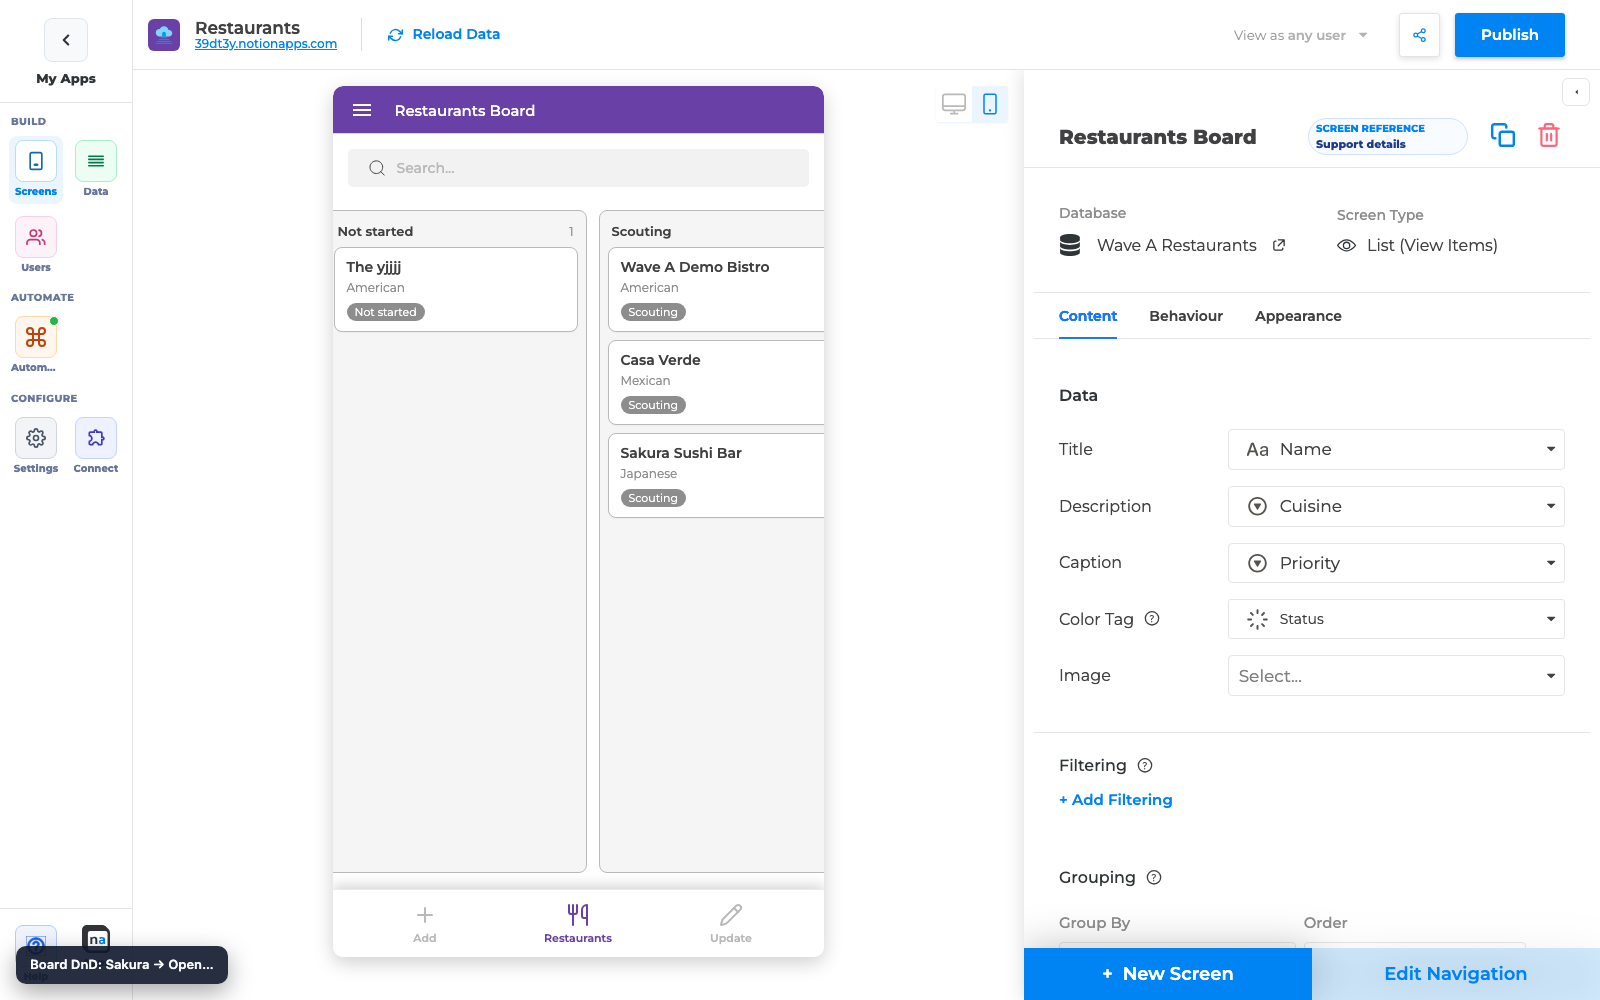
- In builder preview, drag a card from one column to another.
- Confirm the card stays in the new column after the update.
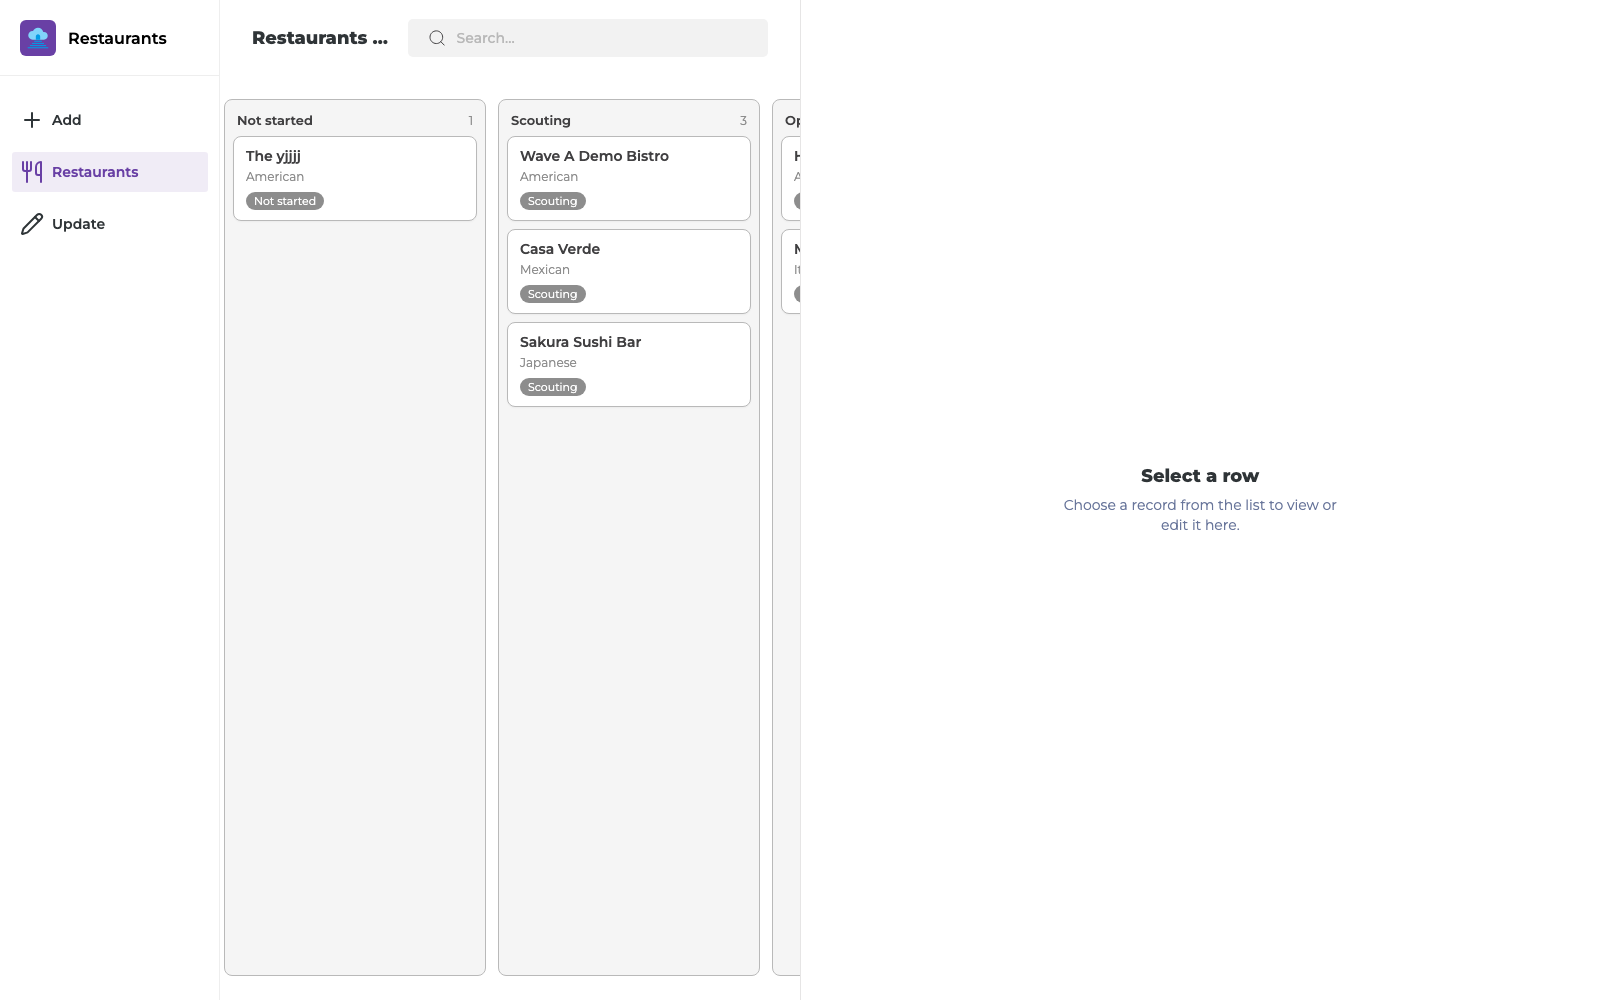
- Publish, open the live app, and repeat the drag on a real device or desktop browser.
Step 4 — Publish and verify Notion
Section titled “Step 4 — Publish and verify Notion”- Publish the app.
- Drag a card on the published Board.
- Open the same page in Notion and confirm Status/Select matches the column you dropped on.
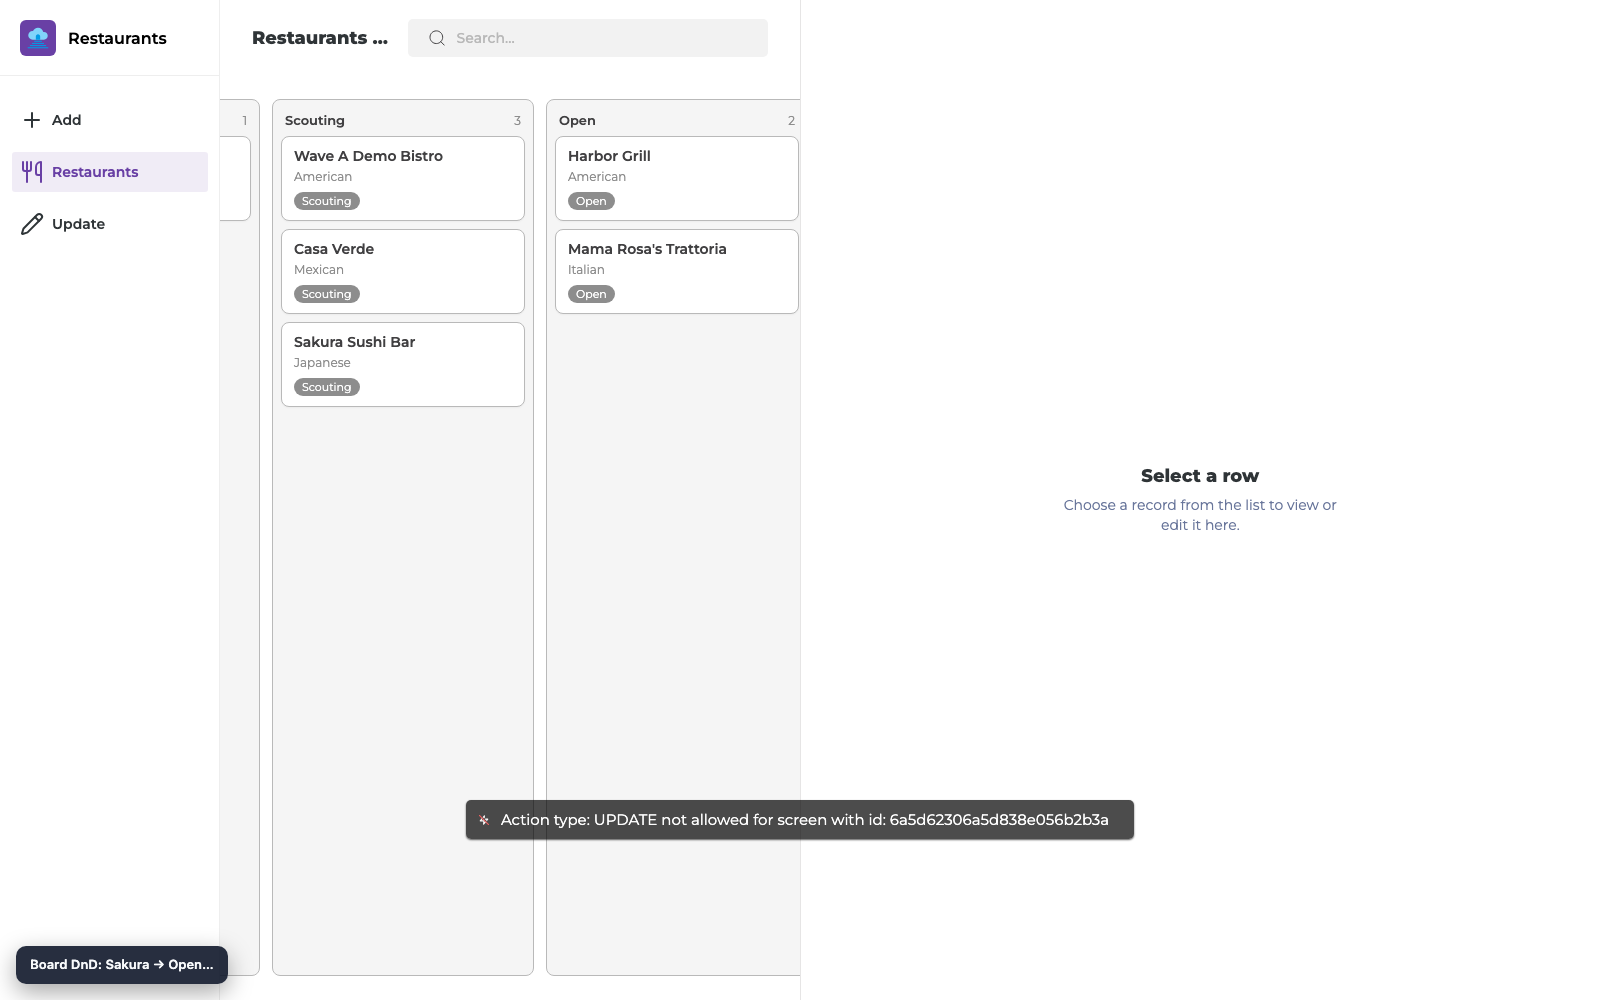
Checklist
Section titled “Checklist”- View type is Board
- Grouping uses Status or Select
- Columns show after Reload Data
- Drag moves the card and updates Notion (when DnD is intended)
- Tap still opens Details
- App is Published
Troubleshooting
Section titled “Troubleshooting”| Symptom | Likely cause | Fix |
|---|---|---|
| No columns | Grouping off or wrong field | Enable grouping on Status/Select |
| Drag does nothing | Field not writable / multi-row update off | Allow multi-row update for that Status/Select; publish again |
| Save error in builder | Invalid grouping sort value | Use ASC / DESC only |
| Empty Board | No records or filters hide all rows | Clear filters; confirm data after Reload Data |
| Reference list has no Board | By design | Use a full List screen |
Related reading
Section titled “Related reading”- Board layouts and Details polish (overview)
- View Types (List, Grid, Calendar) — Board is the new option alongside these
- Filtering, Sorting, or Grouping Items
- 20 Jul 2026 Release
Annotated builder screenshots
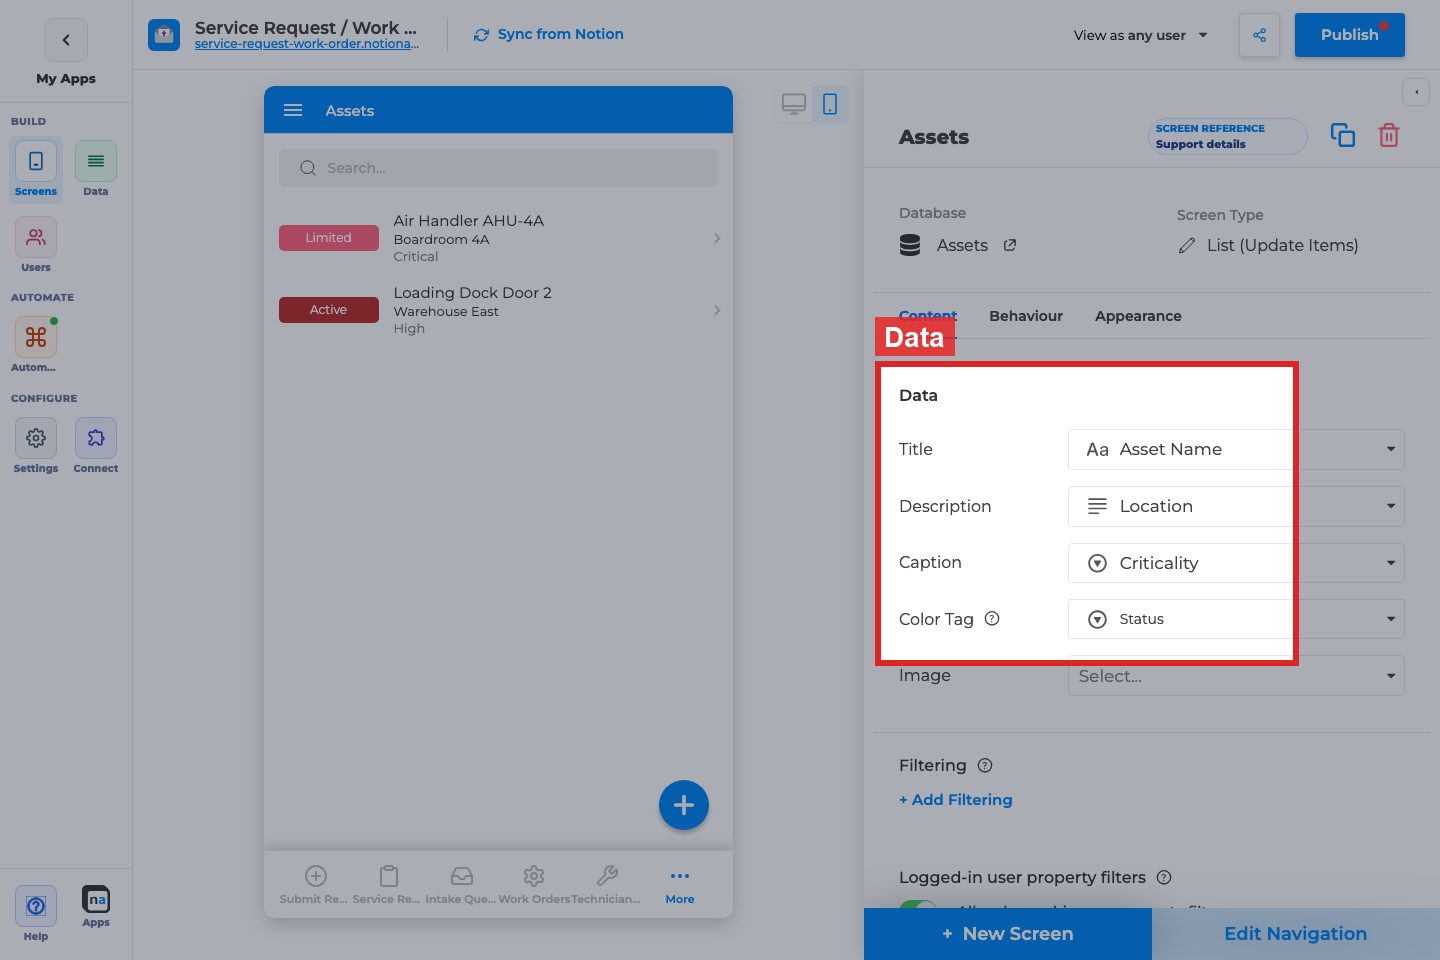
Section titled “Annotated builder screenshots”

Complete Builder Options Reference
Section titled “Complete Builder Options Reference”Board is an Appearance → View Type on List screens. Full list options: List (View Items) / List (Update Items).
Appearance
Section titled “Appearance”View Type = Board
Section titled “View Type = Board”What it does: Renders rows as columns by a select/status property.
How to use it: Pick Board, then ensure Title + the board grouping field are mapped.
Why / recommended default: Use for status pipelines; keep List for dense scanning.
Data → Title / Tag
Section titled “Data → Title / Tag”What it does: Controls card primary text and optional status chip.
How to use it: Title = recognizable name; Tag = status/priority.
Why / recommended default: Never leave Title empty on Board.