Find Your Way Around the Builder Nav Rail
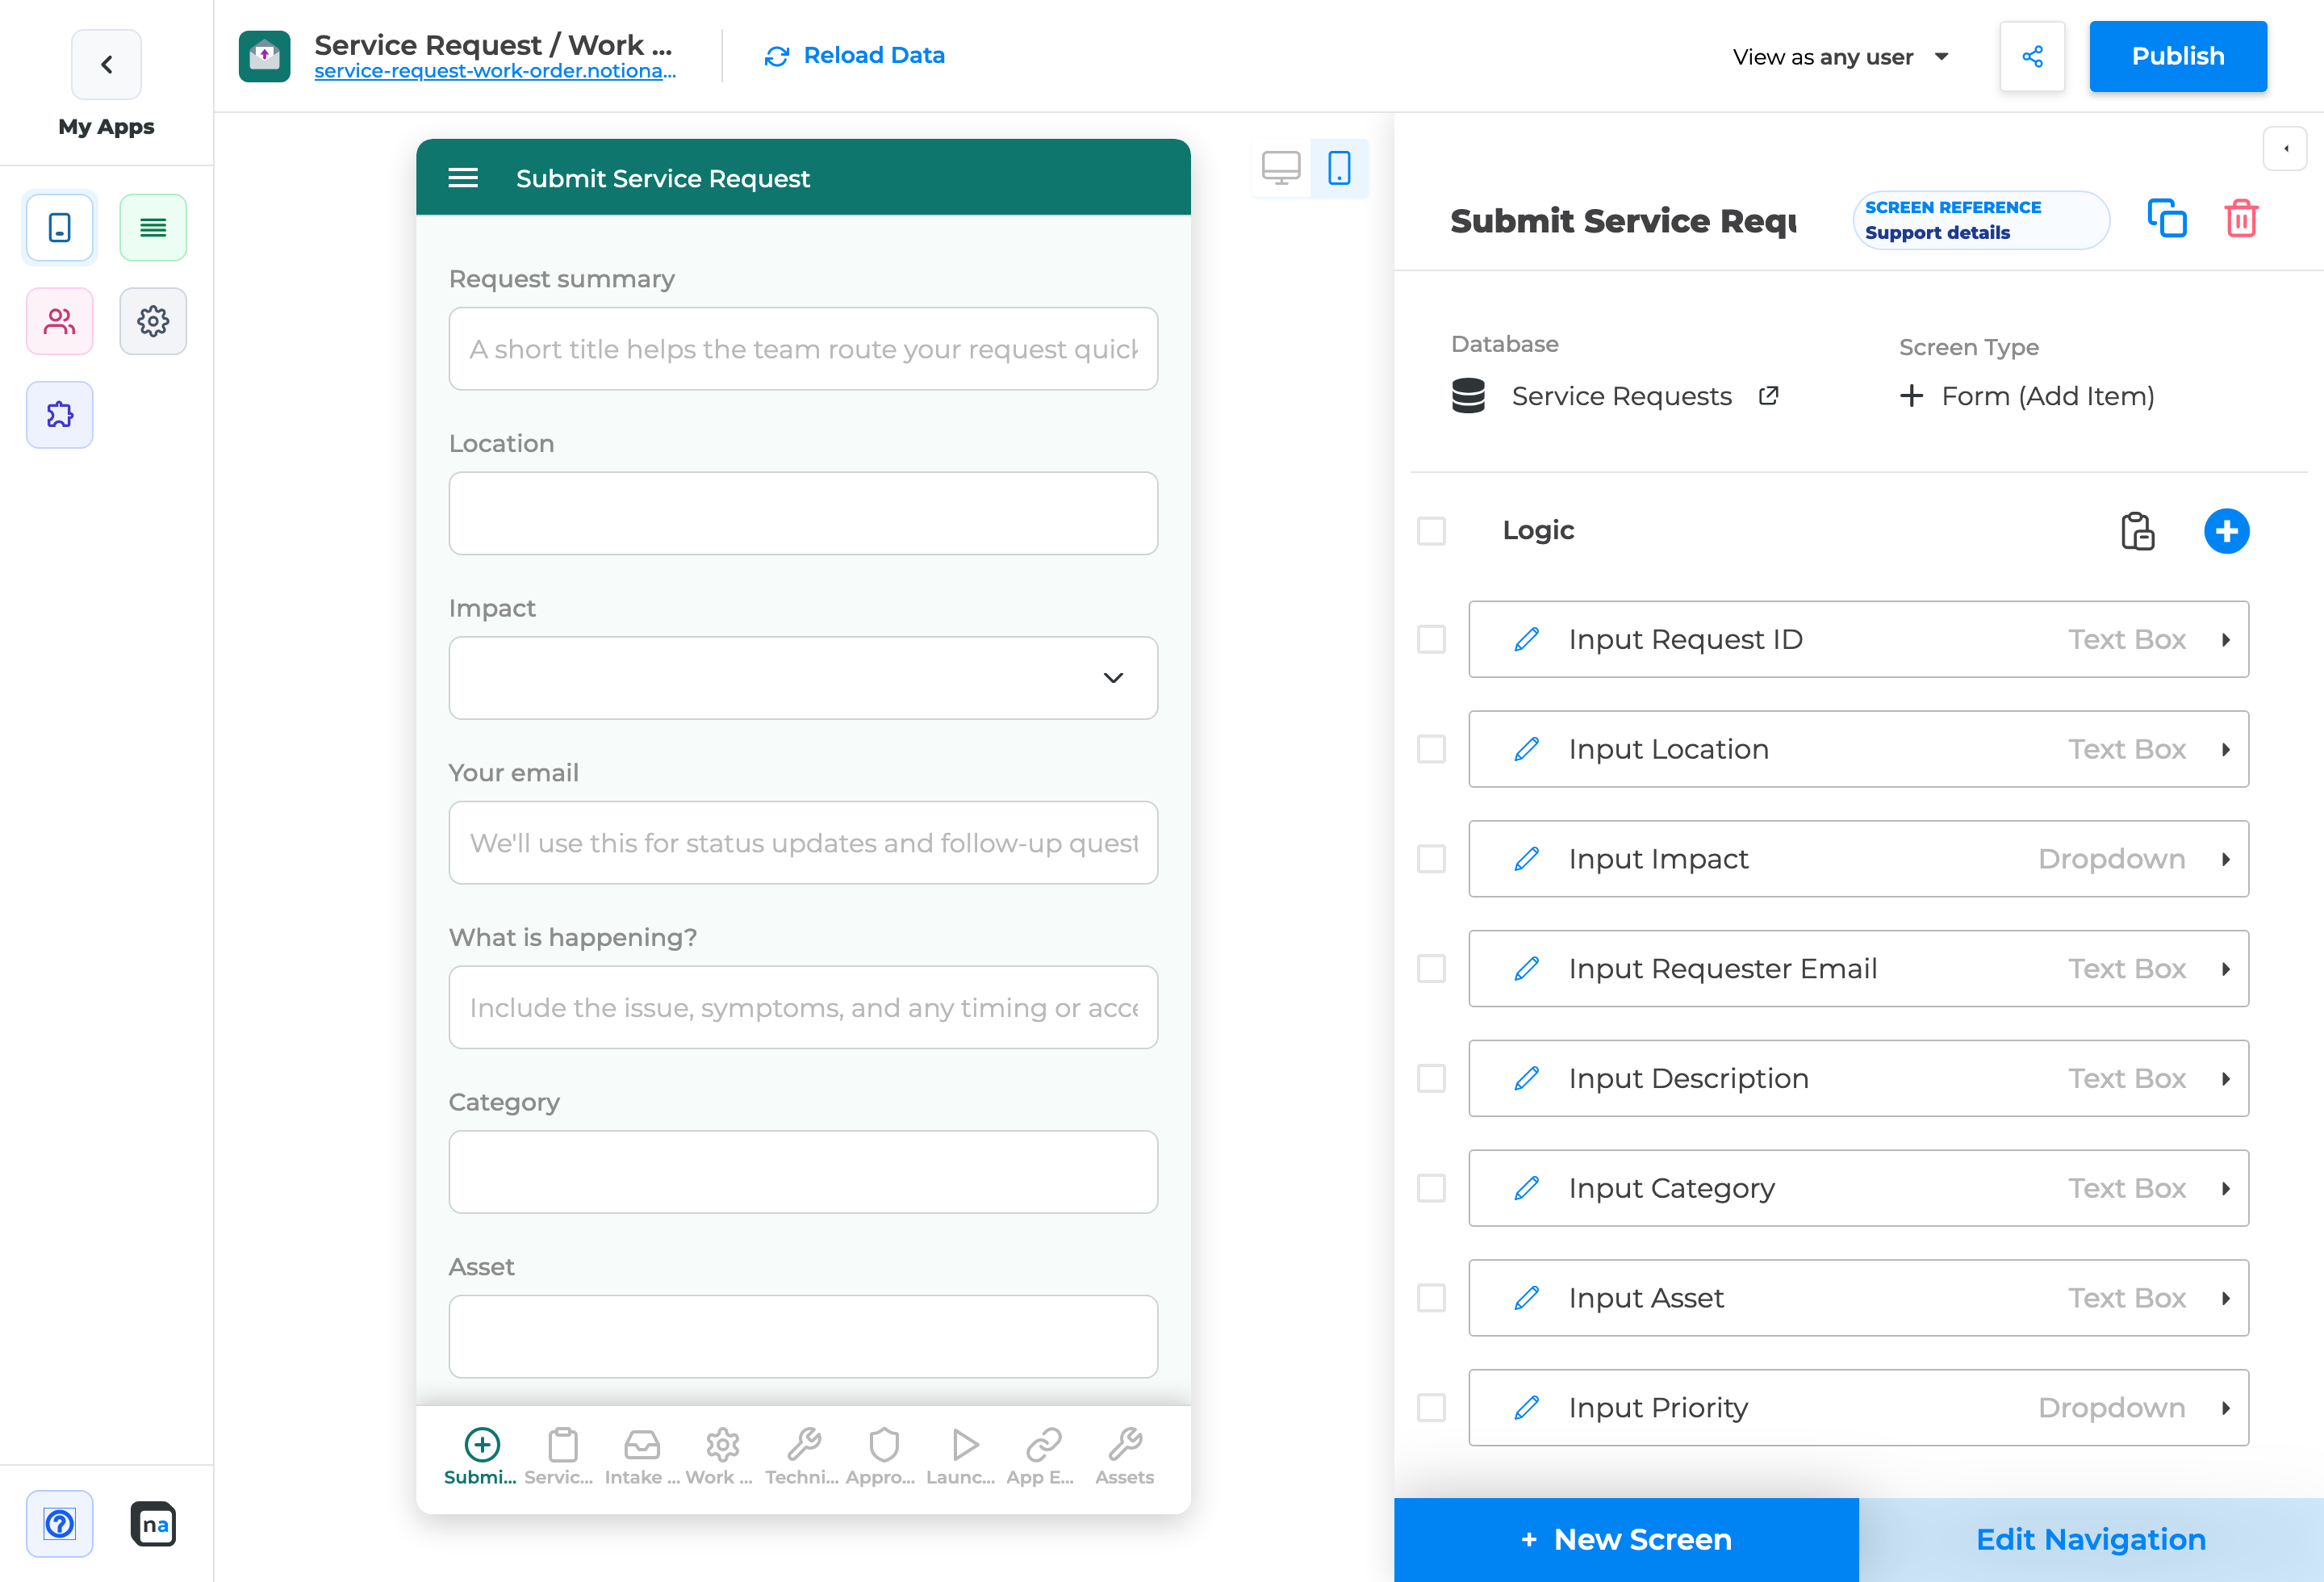
The builder left sidebar is now a wider icon-grid nav rail with hover flyovers — the same pattern as the admin console — so Screens, Databases, Automation, and Help are easier to find.
This guide orients makers to the rail, flyovers, Automation entitlements, Help, and the collapsible Screens configuration panel.
What you get
Section titled “What you get”- A consistent left rail: Screens, Databases, Users, Settings, Integrations, plus Automation tools when entitled
- Hover flyovers that name each area
- Help in the rail footer (documentation, community, product tour, zoom)
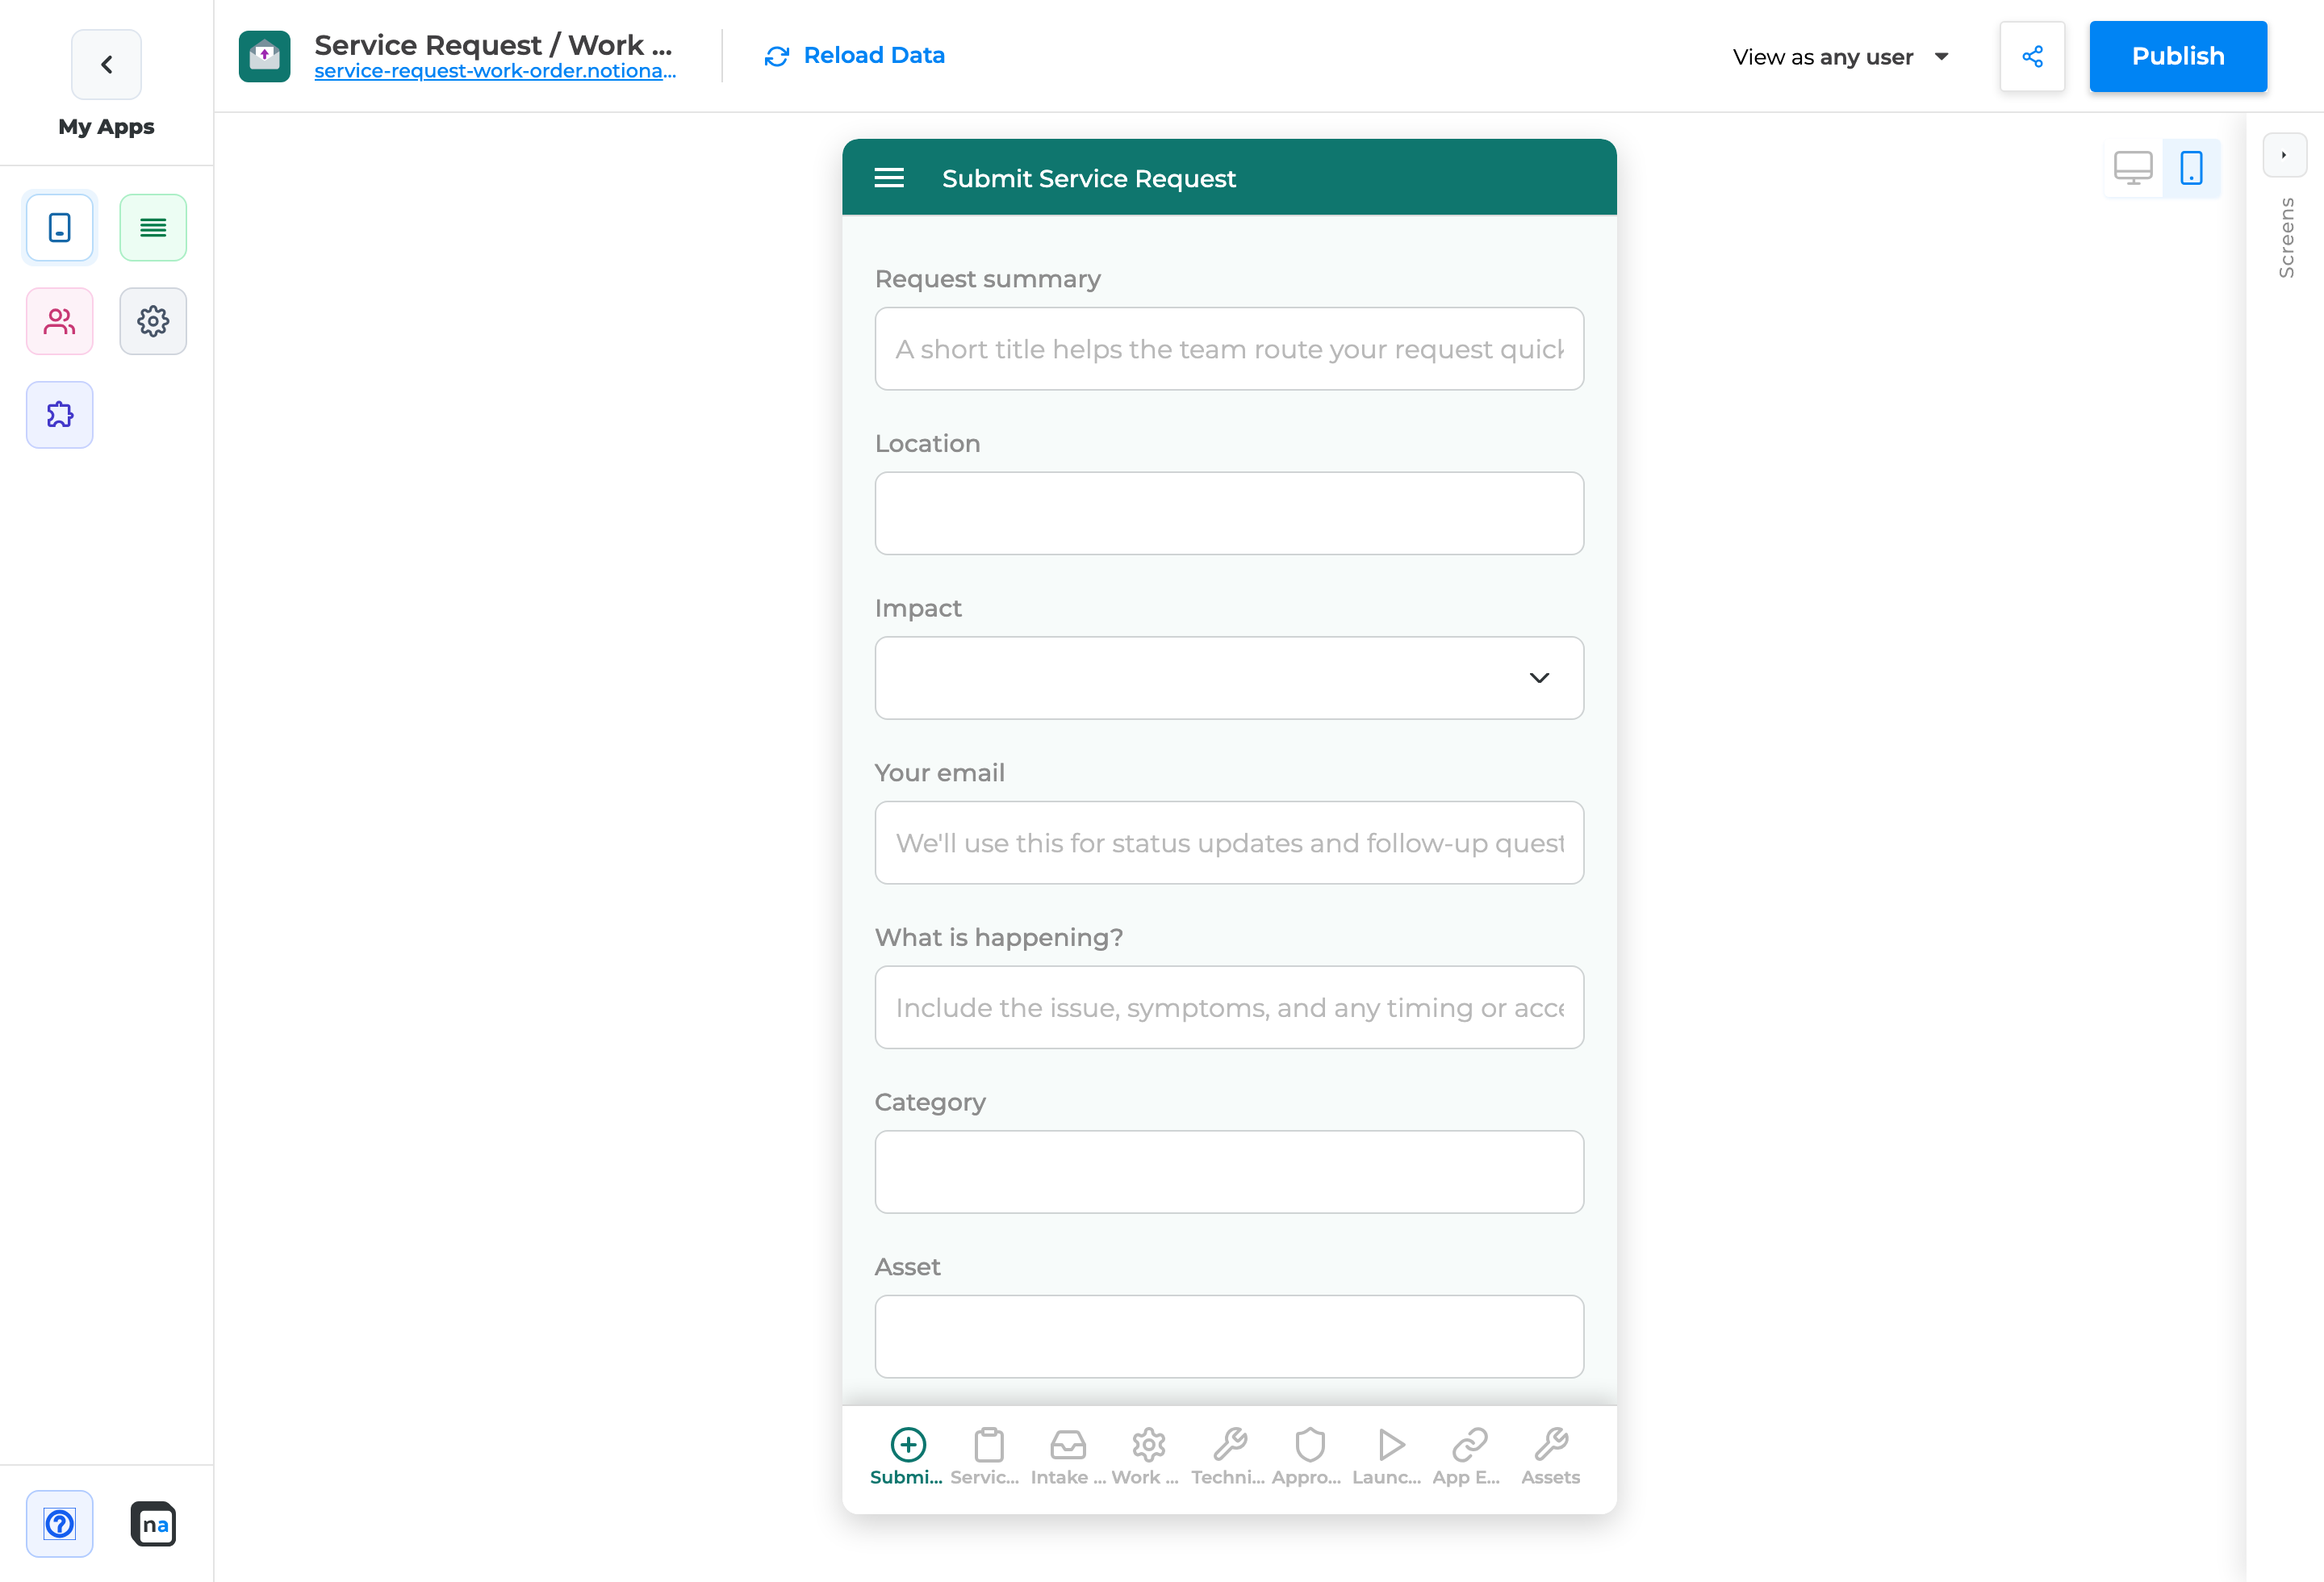
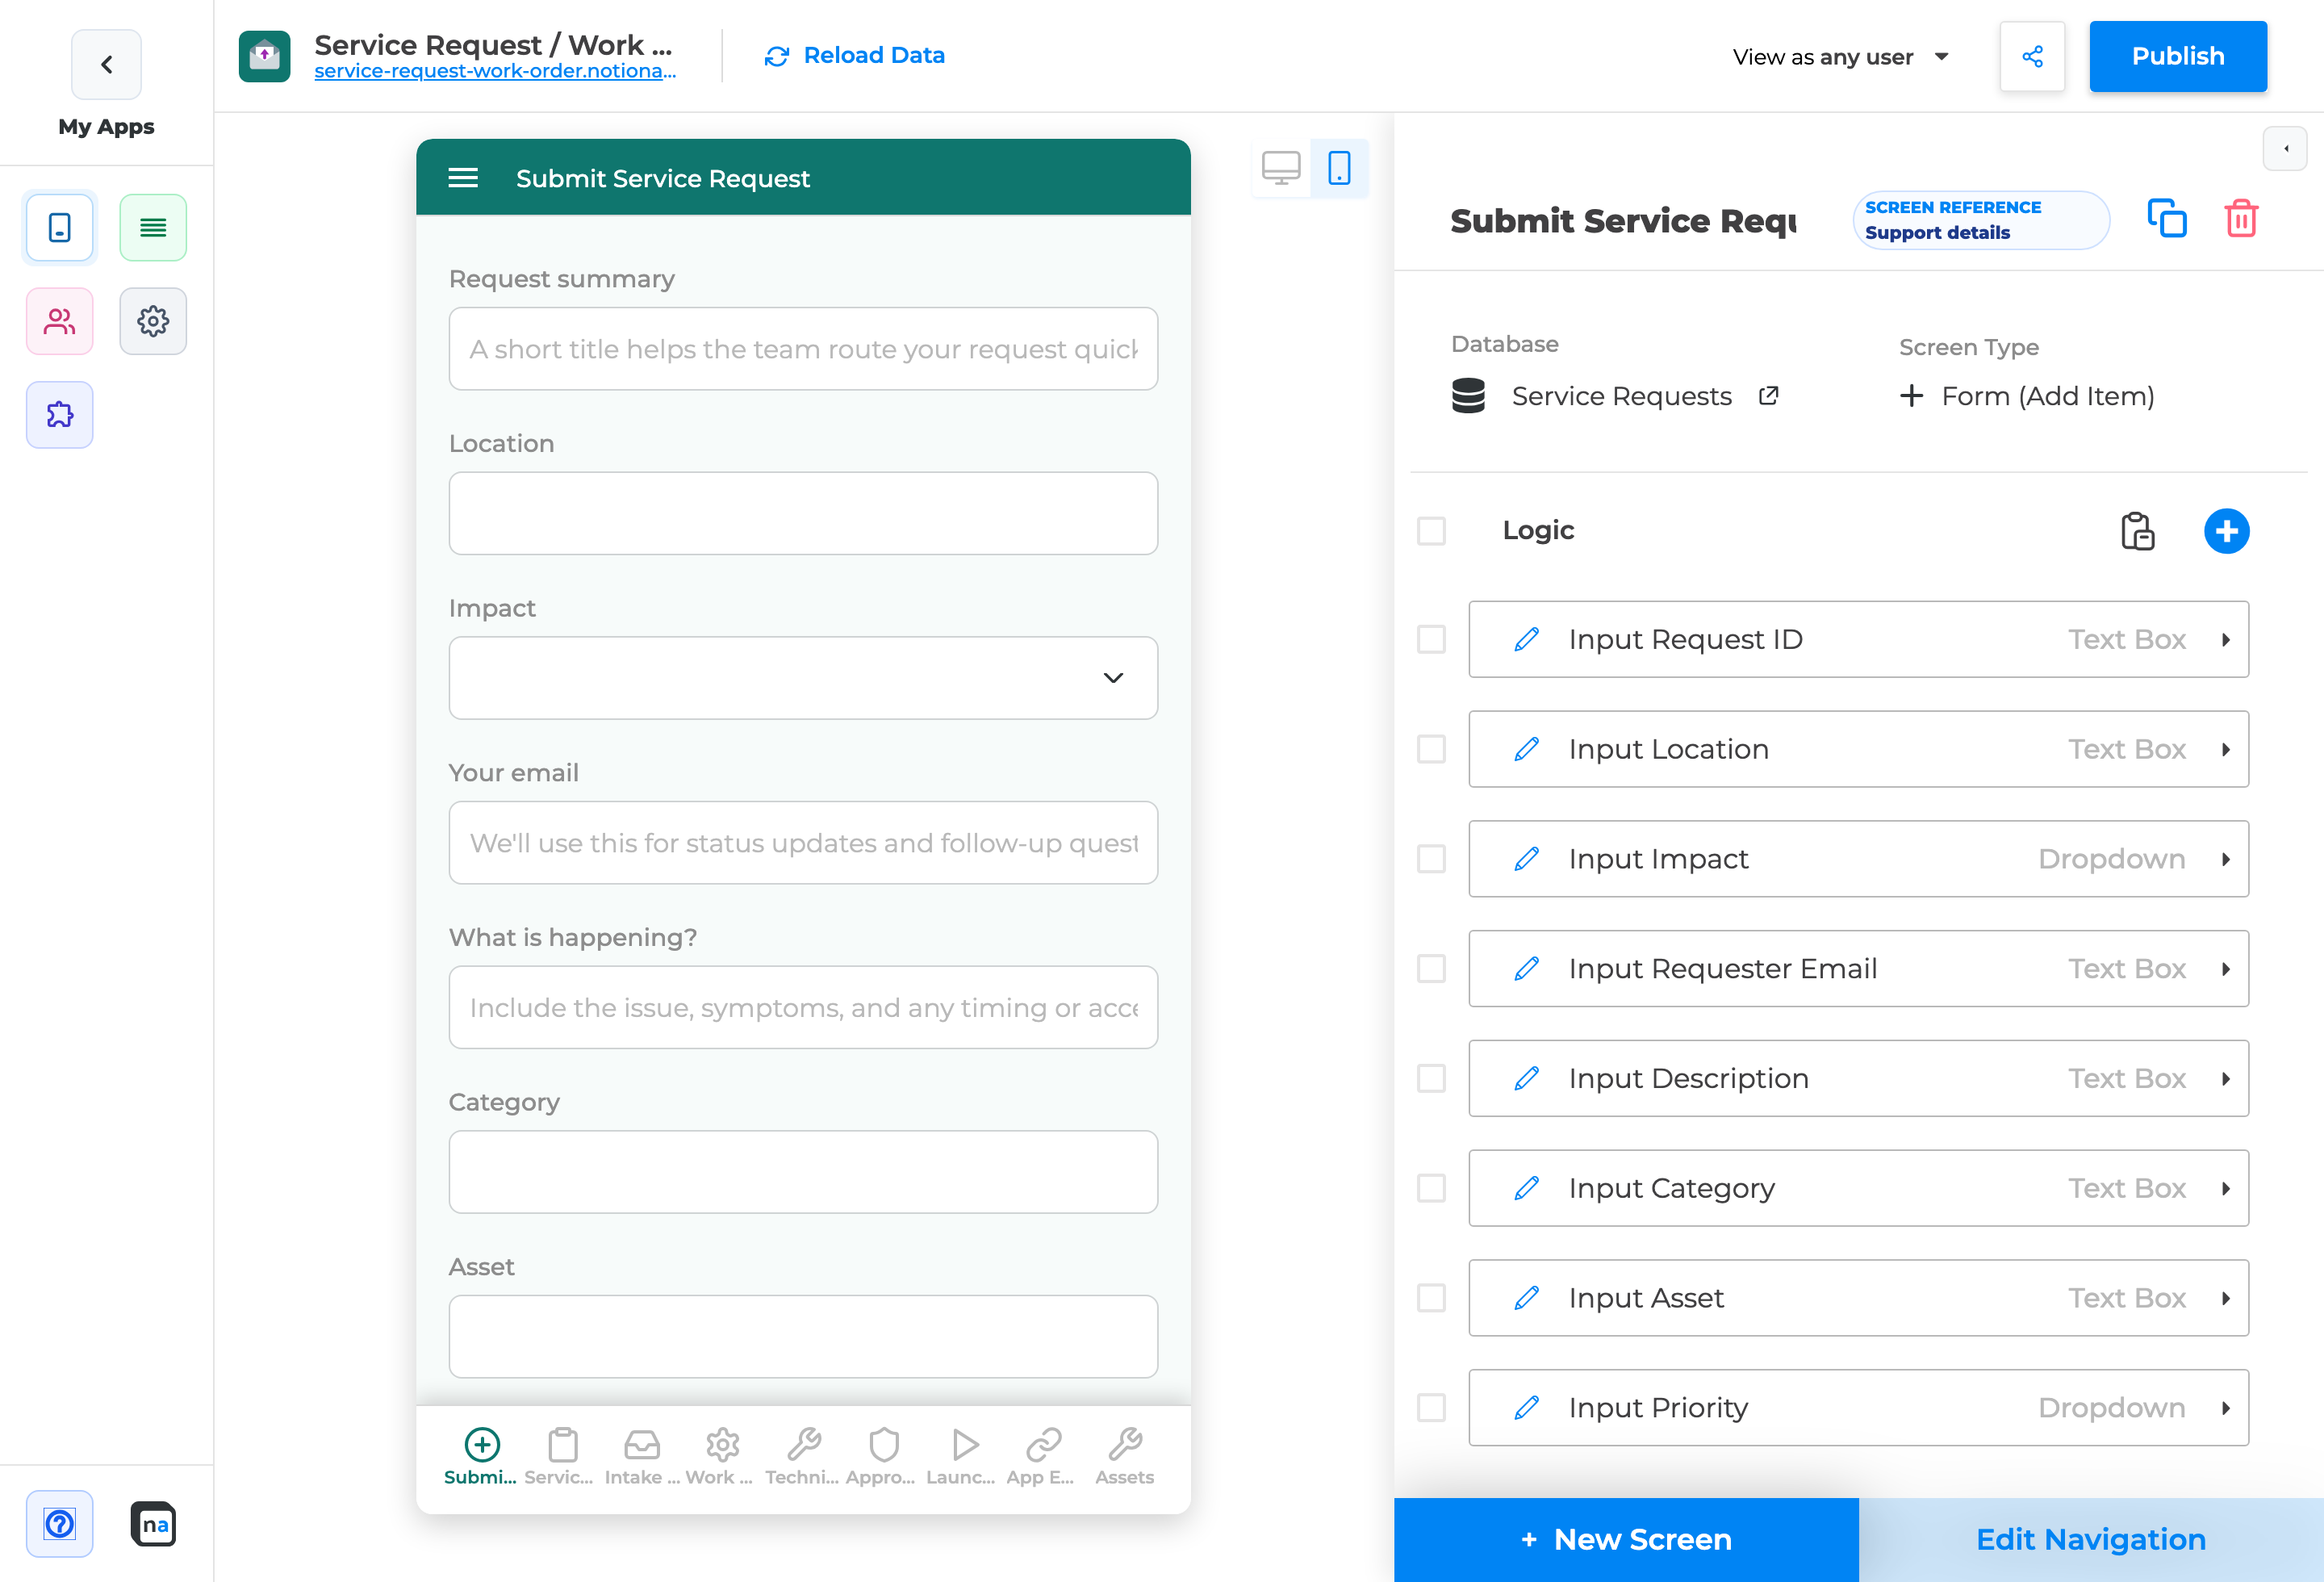
- On Screens: Hide configuration / Show configuration to grow the preview, with a sticky footer for primary actions
Before you start
Section titled “Before you start”You need:
- Access to an application in the NotionApps builder
- (Optional) An Automation-entitled plan to see the Automation rail entry
Step 1 — Open any app in the builder
Section titled “Step 1 — Open any app in the builder”- Sign in to NotionApps.
- Open an application from My Apps.
- Look at the left rail — a vertical icon grid (not the older narrow tab stack).
Step 2 — Use flyovers to learn each icon
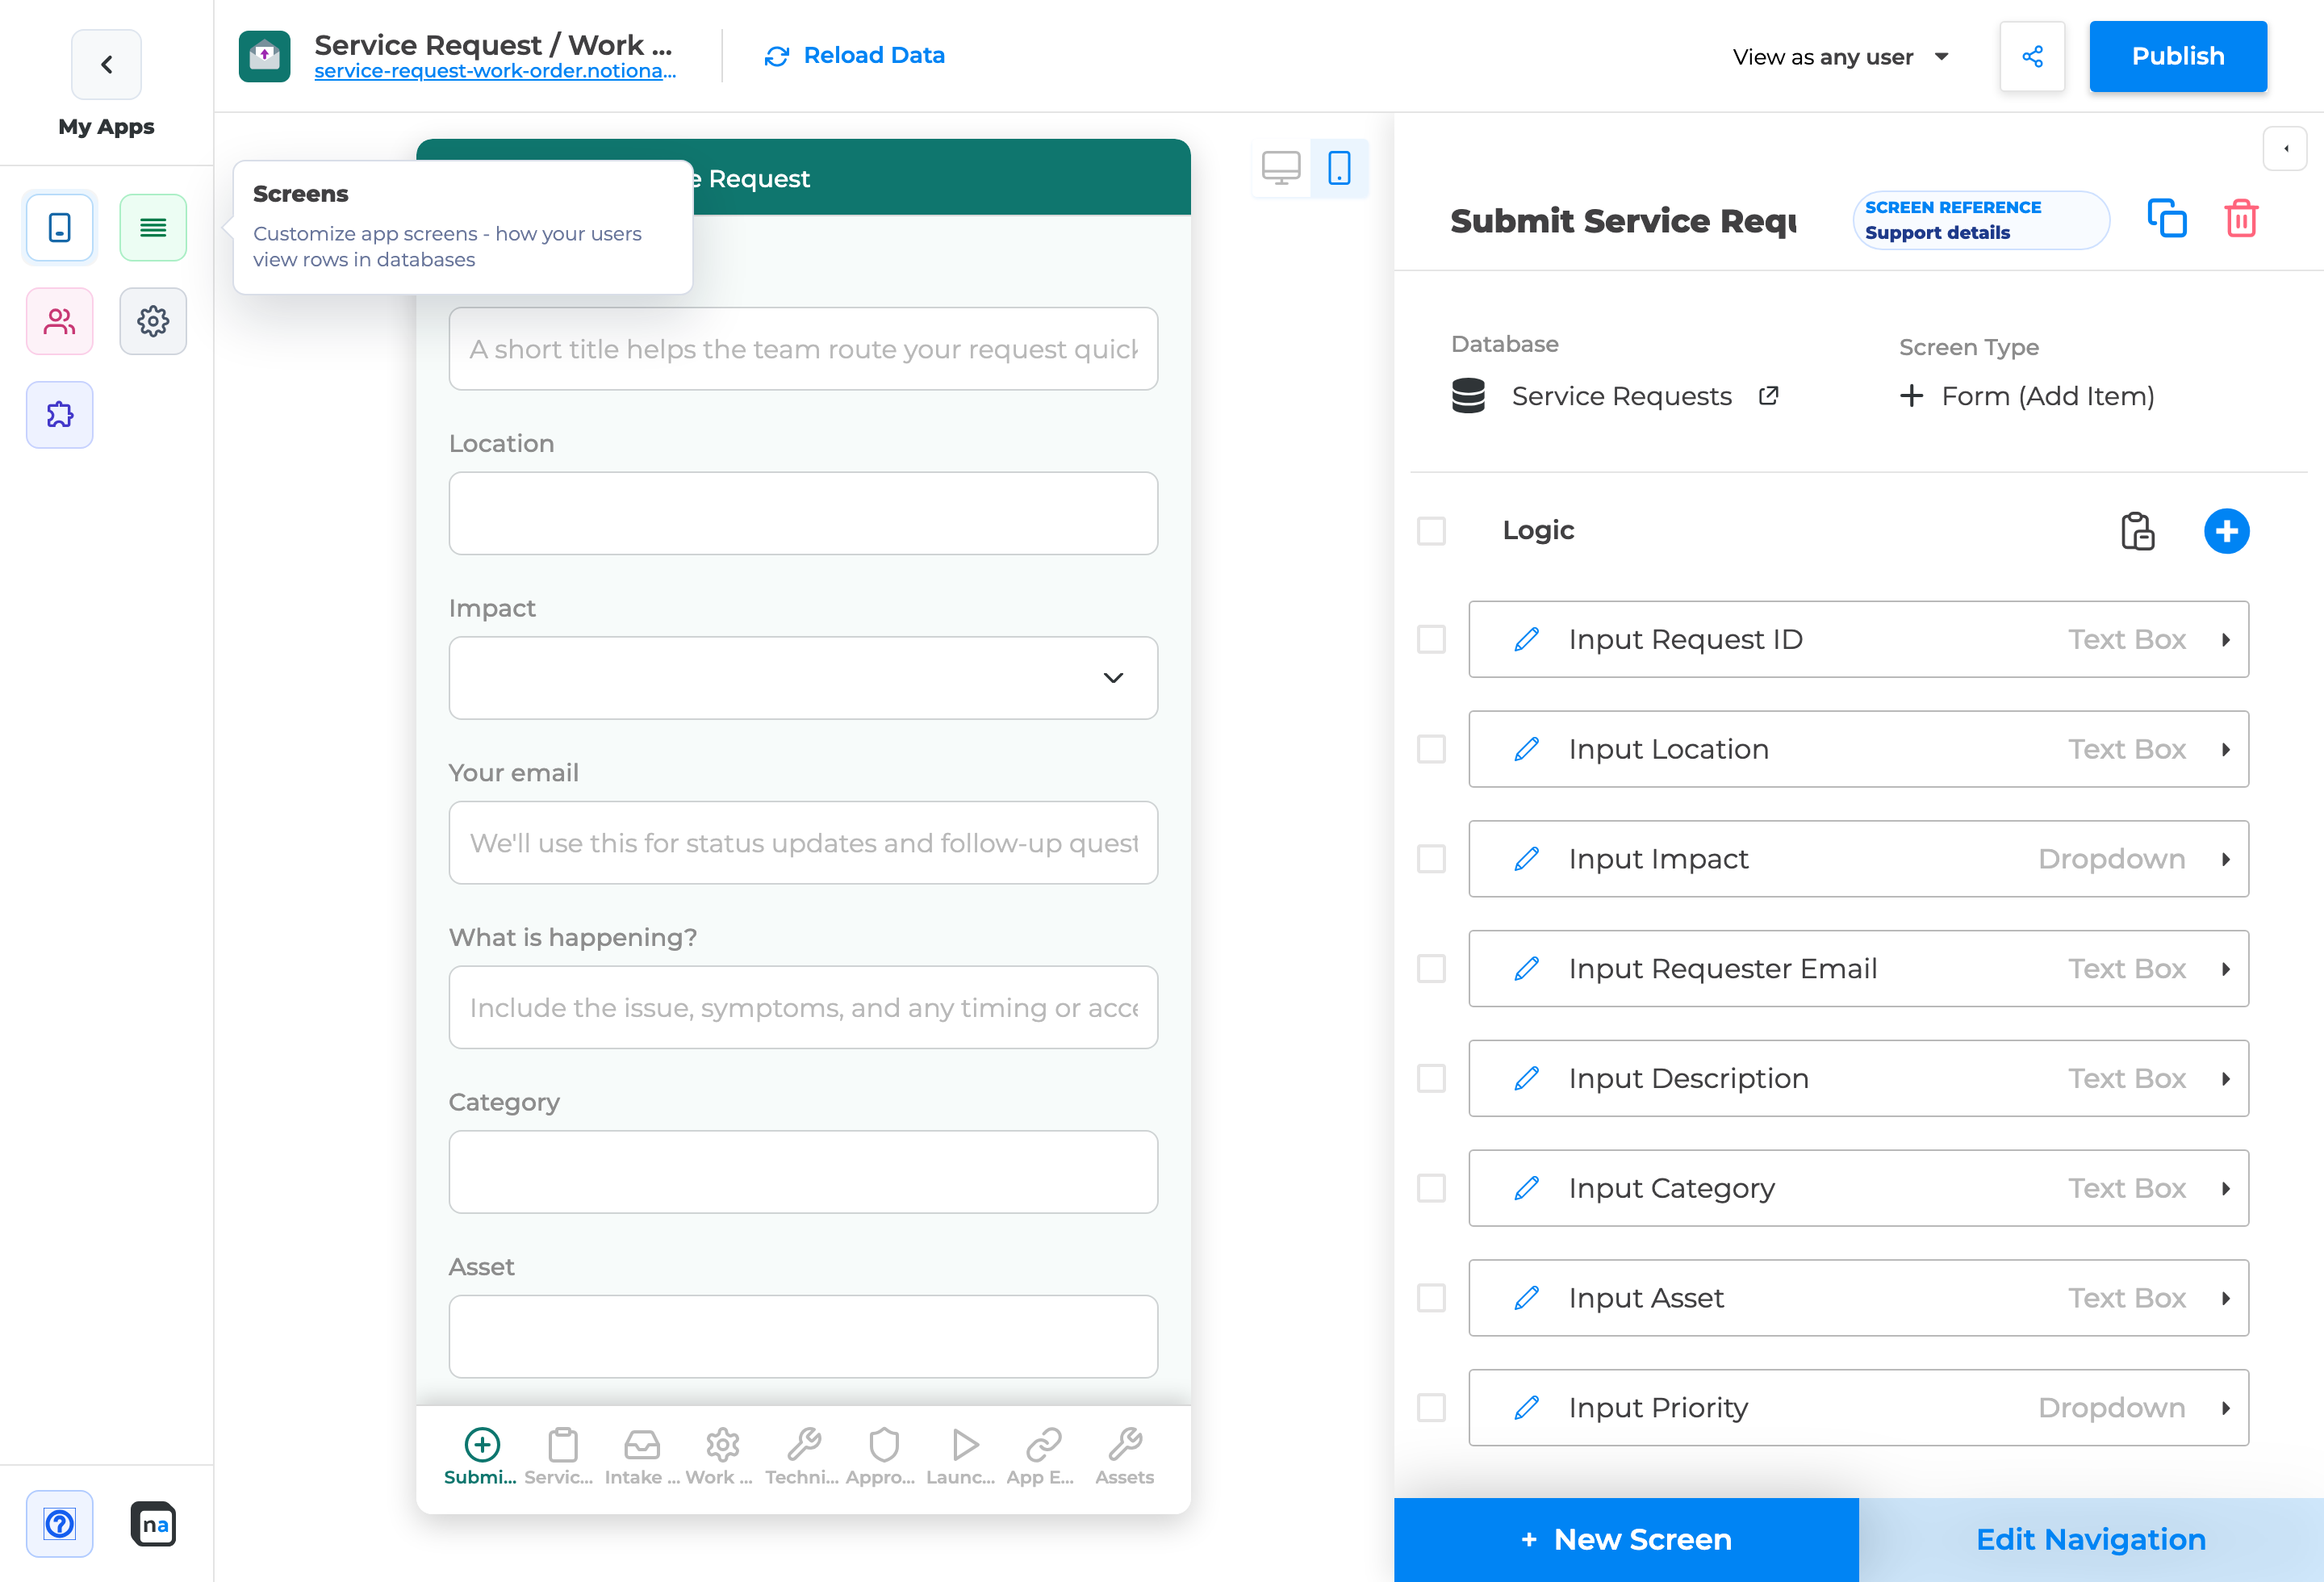
Section titled “Step 2 — Use flyovers to learn each icon”- Hover (or keyboard-focus) an icon such as Screens or Databases.
- Read the flyover title and short description.
- Click the icon to open that workspace.
Common rail destinations
Section titled “Common rail destinations”| Icon area | Opens |
|---|---|
| Screens | Screen list, layout editing, navigation |
| Databases | Linked Notion databases / reload / recovery tools |
| Users | App users and access |
| Settings | App settings (including Version History where available) |
| Integrations | Connected integrations |
| Automation (when entitled) | Automation hub (Home, Recipes, Workflows, Messaging, …) |
| Help (footer) | Docs, community, product tour, zoom |
See also: Automation hub map · Databases · Builder.
Step 3 — Open Screens and work with the preview
Section titled “Step 3 — Open Screens and work with the preview”- Click Screens.
- Select a screen to edit.
- Use the center preview and right configuration panel as usual.
Step 4 — Hide or show the configuration panel
Section titled “Step 4 — Hide or show the configuration panel”When you need more room for the preview:
- Click Hide configuration (collapses the right config panel).
- Edit or inspect the larger preview.
- Click Show configuration to bring the panel back.
Primary actions stay available in the sticky footer (for example + New Screen and Edit Navigation).
Step 5 — Open Automation tools (when available)
Section titled “Step 5 — Open Automation tools (when available)”- If your plan includes Automation, find Automation (and related Workflows / Messaging icons) on the rail.
- Click to open the Automation home / catalog.
- If you do not see these icons, your current plan or workspace entitlement does not include Automation — use Help → documentation or upgrade paths as needed.
Step 6 — Use Help from the rail footer
Section titled “Step 6 — Use Help from the rail footer”- Open Help at the bottom of the rail.
- Choose an action such as:
- Documentation
- Community
- Start product guide / tour
- Zoom in / out for the builder canvas
First-run tour
Section titled “First-run tour”New or returning makers may see a short product tour that highlights the rail. You can restart it later from Help.
End-to-end example (makers)
Section titled “End-to-end example (makers)”Goal: Find Page Content settings faster and give the desktop preview more room.
- Open the app → confirm the icon nav rail.
- Hover Screens → click it.
- Open your Details screen → select Page Content.
- Click Hide configuration while checking desktop layout, then Show configuration to edit TOC settings.
- Use Help if you need the docs site.
Checklist
Section titled “Checklist”- Can identify Screens / Databases / Settings on the rail
- Flyovers appear on hover
- Screens workspace opens correctly
- Hide / Show configuration works
- Sticky footer actions remain usable when collapsed
- Automation icons appear only when entitled (expected)
- Help opens documentation / tour
Troubleshooting
Section titled “Troubleshooting”| Symptom | Likely cause | What to do |
|---|---|---|
| No Automation icon | Plan / entitlement | Confirm Automation on your subscription; contact support if unexpected |
| Flyovers never appear | Tour active, or focus not on rail | Finish/dismiss tour; hover icons again |
| Can’t find old “tab” labels | Labels moved into flyovers + icon text | Hover icons; use Help → product guide |
| Config panel “missing” | Hidden via Hide configuration | Click Show configuration |
| Preview too narrow | Config panel expanded | Hide configuration temporarily |
Related notes for makers
Section titled “Related notes for makers”- The rail is builder-only; published end-user apps keep their own navigation.
- Admin console uses a similar icon-grid pattern — skills transfer between admin and builder.
- Feature availability (especially Automation) depends on plan and account entitlements.
Builder options at a glance
Section titled “Builder options at a glance”This guide teaches a focused maker workflow. For the full screen option inventory (What it does / How to use / Why) and annotated builder screenshots, use the matching Types of Screens guide:
- Data screens: List (View Items), Details, Form (Add Item), Form (Update One Item), List (Update Items), Content
- Everyday chrome / Queue & activity: see the Types of Screens index
- Automation native screens: Native Automation Screens
Recommended defaults
Section titled “Recommended defaults”- Change one option family at a time, then publish and test on phone and desktop.
- Prefer screen-level settings in Content / Behaviour / Appearance before custom CSS/JS.
- Keep public access and navigation visibility intentional on every screen you link from this guide.